How To Setup The SQL Backup Engine
Before customers begin:
-
The Primary Engine must be upgraded to the same version as the Backup engine to be installed.
-
One Empty SQL Database on Backup Machine must be created
-
100 Megabyte Database
-
100 Megabyte Transaction Log
On The Backup Engine Server
-
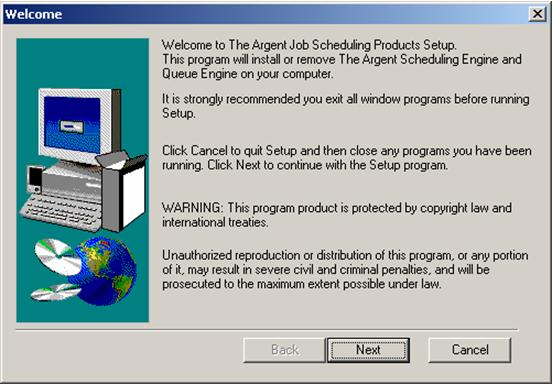
From Windows Explorer run setup.exe from Scheduler_Install folder.

-
Click Next.
-
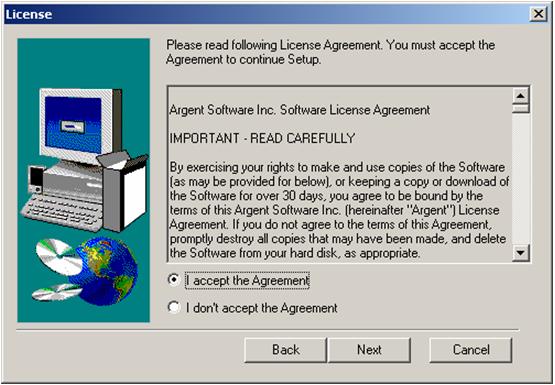
Accept the Argent License Agreement, Click Next.
-
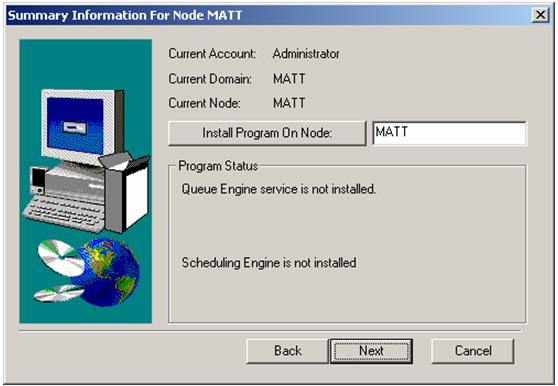
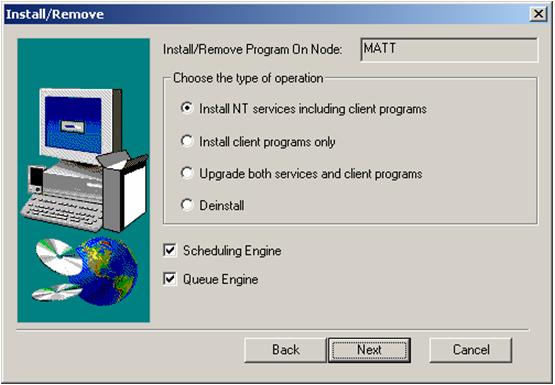
Select the server on which customers wish to place the Backup Engine. This selection will default to whatever machine customer is currently logged on to.
Click Next
-
Select the option “Install NT services including client programs”. Click Next
-
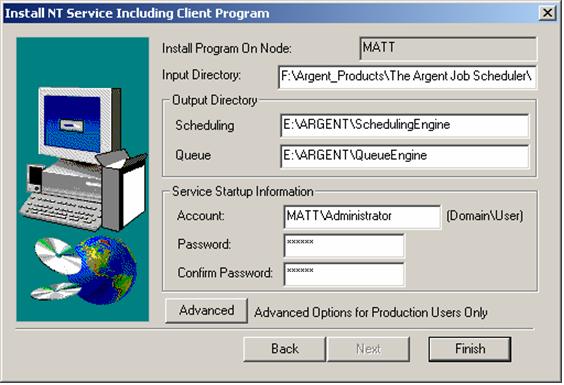
Select output directory for preferred drive letter location, Enter Service account user and password.
Select the Advanced button.
-
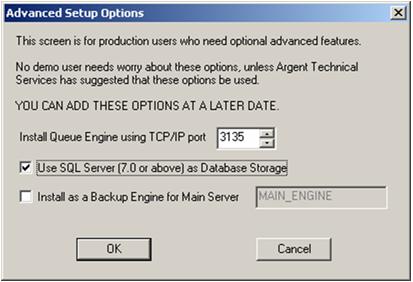
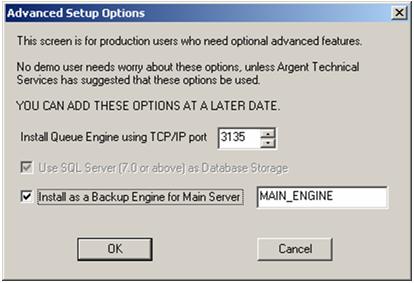
On the Advanced Setup Options dialog, check the option “Use SQL Server (7.0 or above) as Database Storage” & “Install as a Backup Engine for Main Server”, and specify the main engine name. Click OK.
Click Finish.
Note: Setup will now have the customer configure an ODBC connection to the PRIMARY database. This allows for the replication of data between the Primary Engine and the Backup Engine
-
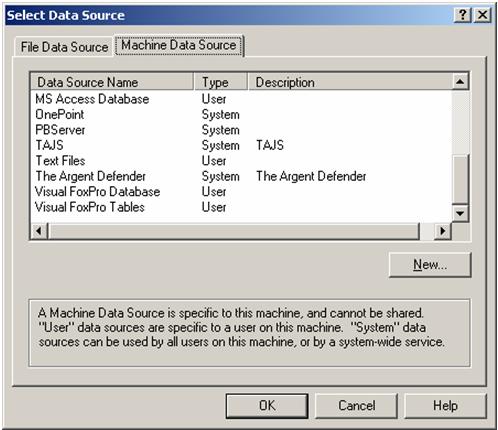
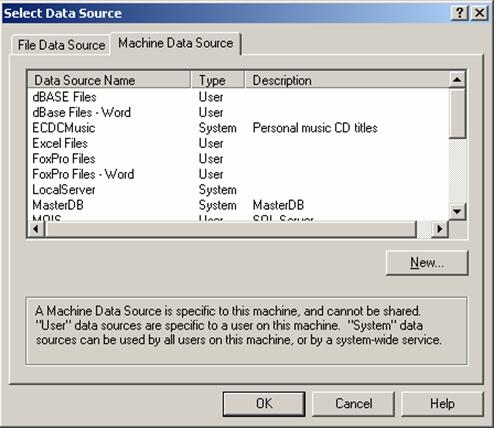
From the “Select Data Source” dialog box, select the “Machine Data Source” tab.
Press the “New” button to create a new data source
-
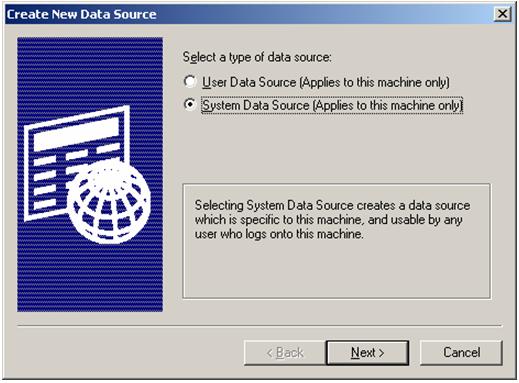
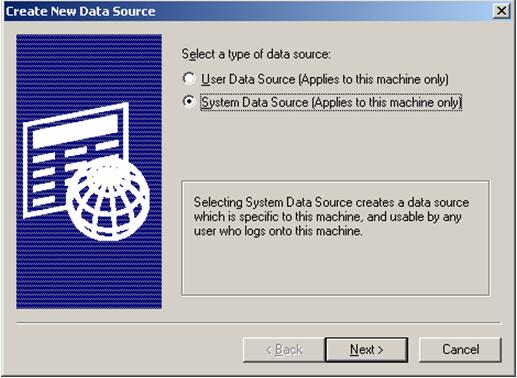
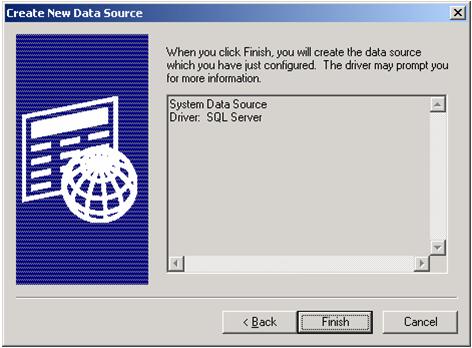
On the “Create a New Data Source” dialog box select “System Data Source” option and click next.
-
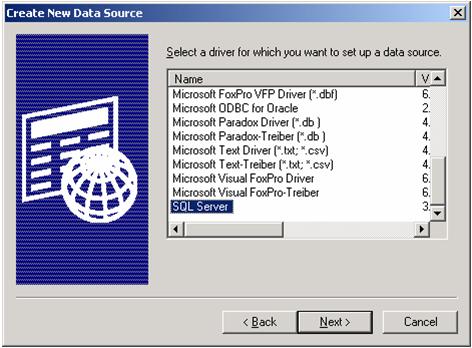
On the “Create a New Data Source” select “SQL Server” from the bottom of the list and click next
-
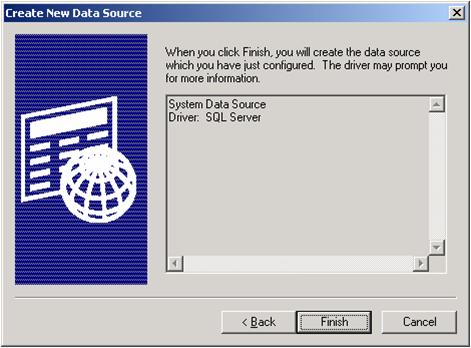
Click finish
-
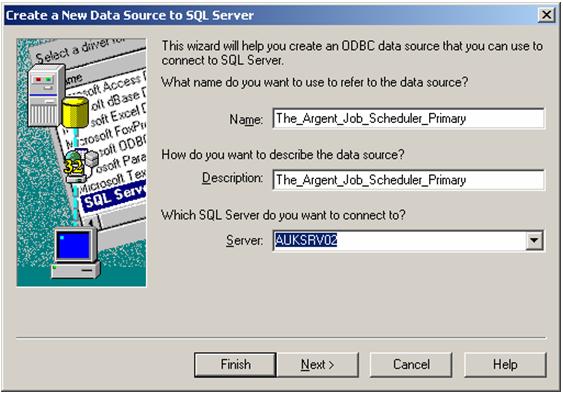
On the “Create a New Data Source to SQL Server” dialog box, enter the name of customer’s ODBC connection and the description.
Select the SQL server where the PRIMARY database is stored from the “server” drop down list and click next
-
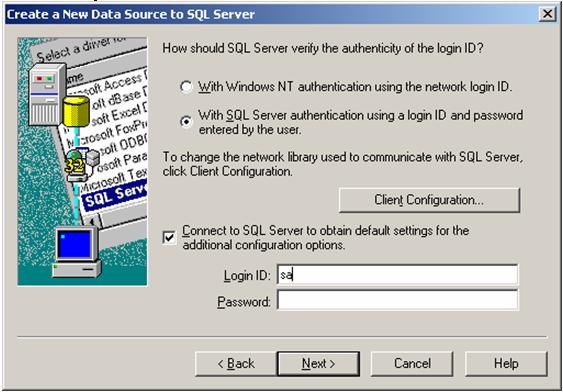
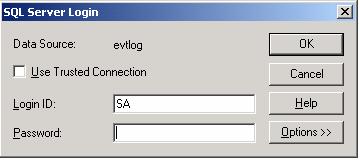
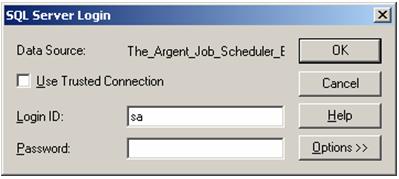
Select “With SQL Server Authentication using a Login ID and password entered by the user” and enter “The Login Name” and “Password”.
Use the default login name “SA” without password if no security has been setup.
-
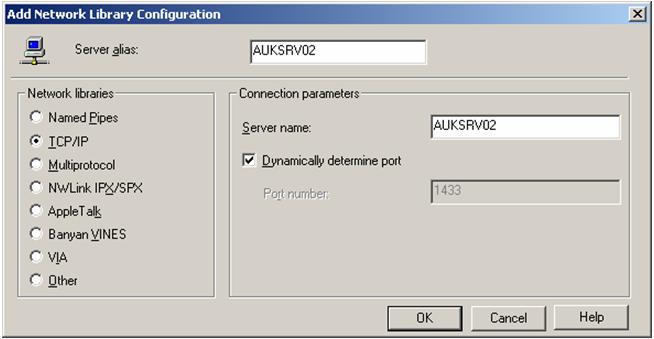
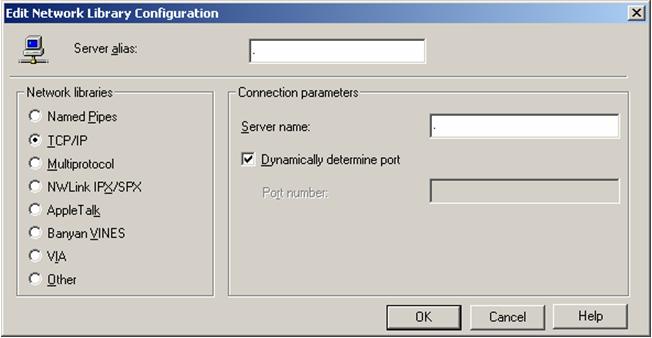
Click on the “Client Configuration” button. Confirm that customer is using TCP/IP and port 1433. Click next.
-
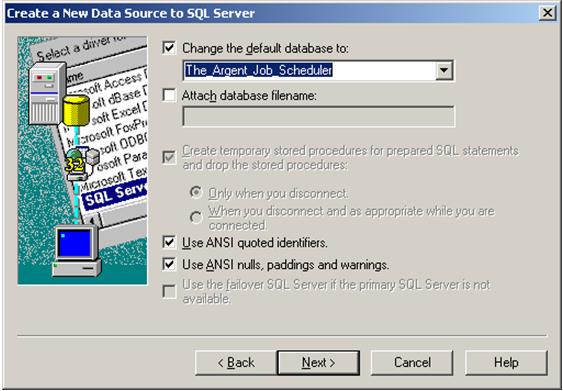
Click on “change the Default Database to”. Select the Primary SQL database and click next.
-
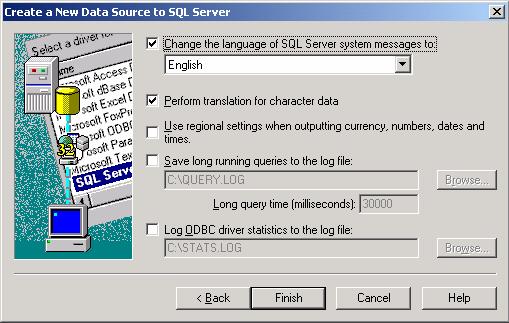
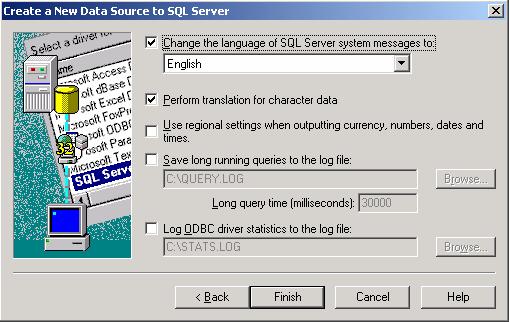
Click on “change to language of the SQL server system messages to” and select “English”.
Click on finish
-
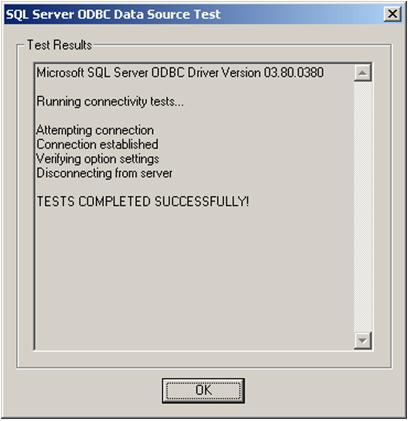
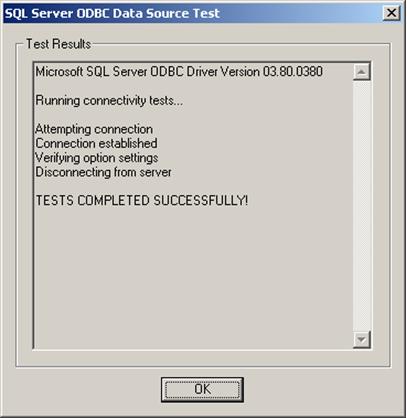
Click on the “Test Data Source” button.
-
Ensure the “Test is Completed Successfully” click OK to close the window.
Click OK again.
-
Click OK on the “select data source” dialog box to create the data source.
-
Customers will then be prompted to re-enter the account name and password. Enter this information and Click OK.
-
Once the installation is finished the “Backup engine is installed and not started. Please configure and restart main server before starting up the backup engine” dialog will appear.
Click “OK”
Click “OK” again.
-
Start up Main GUI on the backup engine. This is located under the Argent Job Scheduler program group.
-
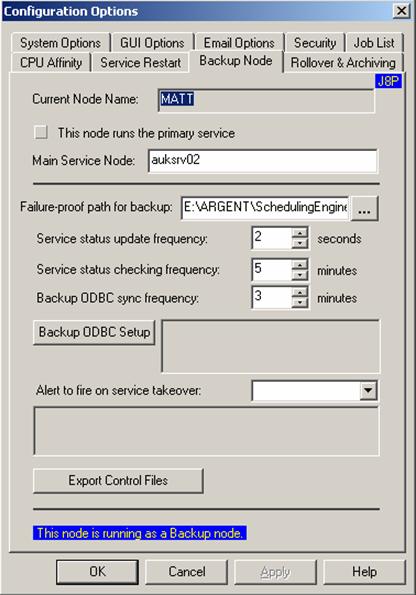
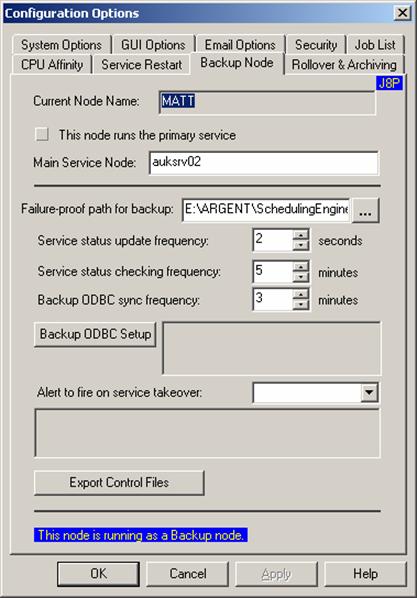
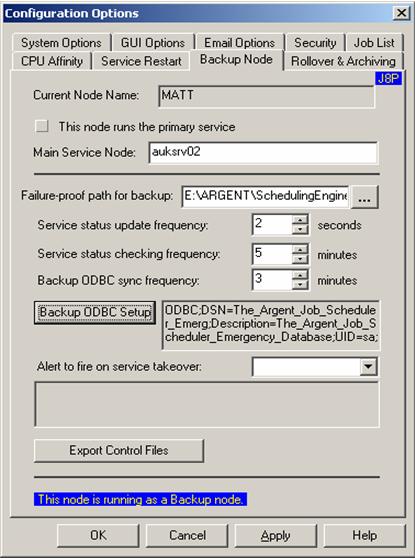
From the settings menu, Click “Configuration Options”. Click on the “Backup Node” tab.
Note: Customers will now configure the ODBC connection to the EMERGENCY database. This allows independent database failover.
-
From the “Backup Node” tab, click on the “Backup ODBC Setup” button. This will launch the ODBC configuration process.
-
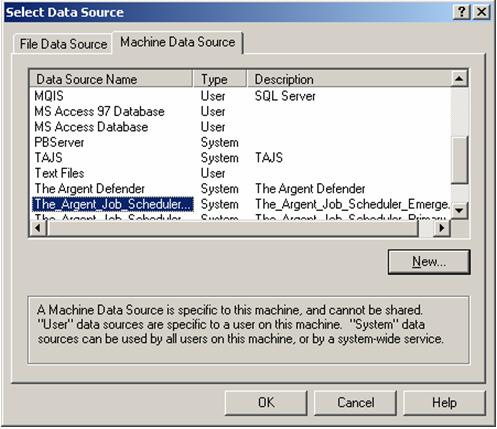
From the “Select Data Source” dialog box, select the “Machine Data Source” tab.
Press the “New ” button to create a new data source.
-
On the “Create a New Data Source” dialog box select “System Data Source” option and click next.
-
On the “Create a New Data Source” select “SQL Server” from the bottom of the list and click next
-
Click finish
-
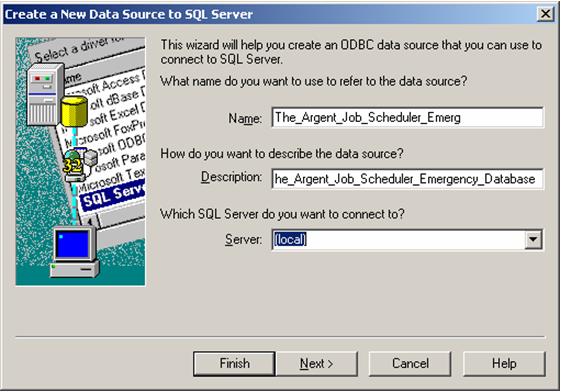
On the “Create a New Data Source to SQL Server” dialog box, enter the name of customer’s ODBC connection and the description.
Select the SQL server where the EMERGENCY database is stored from the “server” drop down list and click next
-
Select “With SQL Server Authentication using a Login ID and password entered by the user” and enter “The Login Name” and “Password”.
Use the default login name “SA” without password if no security has been setup.
-
Click on the “Client Configuration” button. Confirm that the customer is using TCP/IP and port 1433. Click next
-
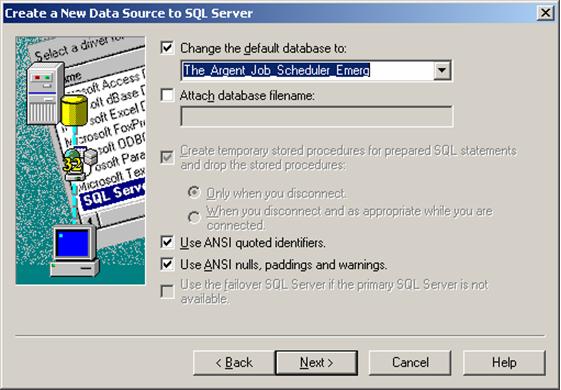
Click on “change the Default Database to”. Select the EMERGENCY SQL database and click next.
-
Click on “change to language of the SQL server system messages to” and select “English”. Click on finish
-
Click on the “Test Data Source” button.
-
Ensure the “Test is Completed Successfully” click OK to close the window.
Click OK again.
-
Click OK on the “select data source” dialog box to create the data source.
-
Customers will then be prompted to re-enter the account name and password. Enter this information and Click OK.
-
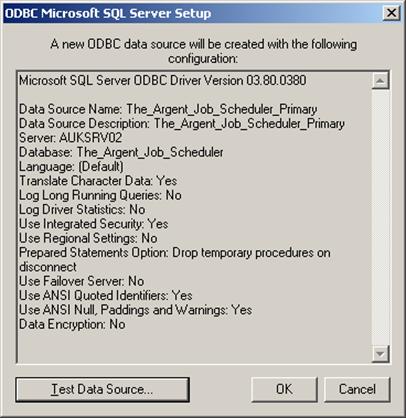
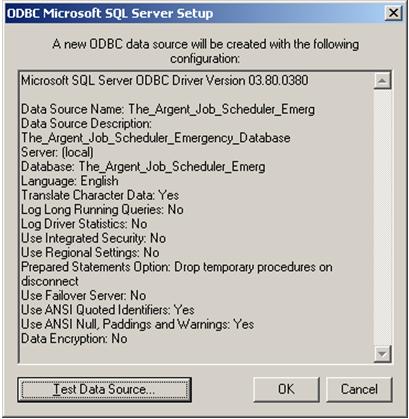
The configuration of the EMERGENCY database can then be confirmed by checking the DSN specifications listed in the Backup ODBC Setup dialog box.
-
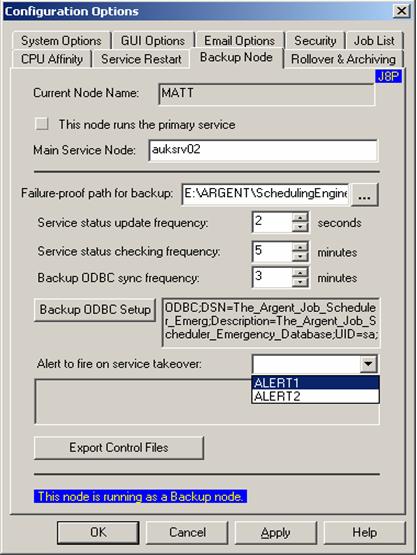
Configure the alert to fire when the service takes over, in the BACKUP engine configuration dialog and the PRIMARY engine configuration dialog
-
The configuration is now complete.


|
Your Argent Job Scheduler is a critical production system, the well-being of which directly affects large segments of your IT operation. Feel free at any time, day or night, 24 hours-a-day, 365 days-a-year to contact Argent
|