How To Install Argent Queue Engines W200X/NT
This section explains the step-by-step procedure for installing the Argent Queue Engine on Windows machine. After the installation, Argent Job Scheduler engine can be configure to execute jobs on the Argent Queue Engine.
Step 1:
Run SETUP.EXE from Windows Explorer or from the Start Menu (Type: X:\_ARGENT_INSTALL\SETUP.EXE)
If you intend to install the Pre-W200X version of Argent Queue Engine, you should run X:\_ARGENT_INSTALL\SETUP.EXE /PRE_W200X. (You may need to contact Argent support to get the setup package containing the Pre-W200X version)
Step 2:
Default summary information for current account, current domain, current node, and node to be installed on is displayed – see below, Summary Information for Node.
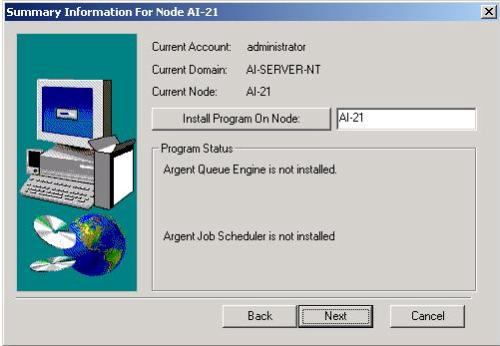
Click on Next.
If customers want to install the Argent Job Scheduler on a node other than the currently displayed local node, enter the node name and click the Install Program On Node button.
Click on Next.
Step 3:
Click on radio button to select type of operation – see below, Install/Remove window.
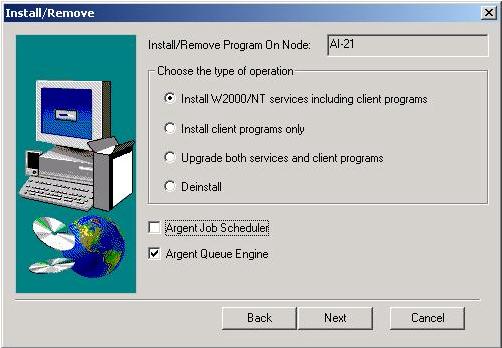
Uncheck the option of ‘Argent Job Scheduler’ then click on Next
Step 4:
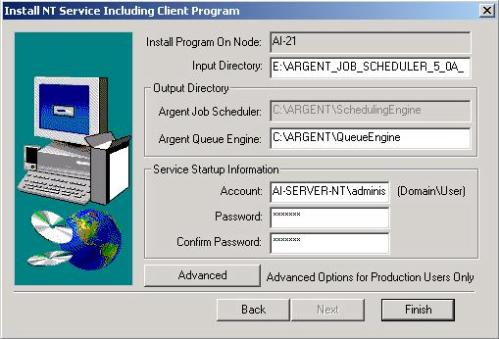
Input Directory: The directory where SETUP will locate the Argent Job Scheduler files to install. By default, this is the current directory from which SETUP is running.
Output Directory: The directory to Argent Queue Engine will be installed. By default, this is a directory named “\Argent\QueueEngine” on the C: drive.
Click on Finish.
Step 5:
Proceed to complete the installation.
|
Your Argent Job Scheduler is a critical production system, the well-being of which directly affects large segments of your IT operation. Feel free at any time, day or night, 24 hours-a-day, 365 days-a-year to contact Argent
|