Argent Job Scheduler-Scheduling Engine Migration Steps
Before upgrading the NT version of the Argent Queue Engine to the XS version, it is recommended that the Argent Job Scheduler – Scheduling Engine be upgraded first.
To upgrade the Argent Job Scheduler – Scheduling Engine, perform the below steps:
-
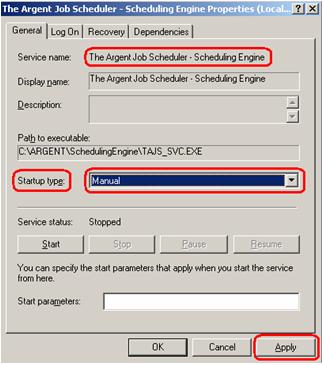
Stop The Argent Job Scheduler – Scheduling Engine service using the Service Control Manager applet as shown below:
-
Change the Startup Type of The Argent Job Scheduler – Scheduling Engine service to Manual as shown below:
-
Use Task Manager to confirm that the TAJS_SVC.EXE process is not running. If this process is still running, end the appropriate process as needed;
-
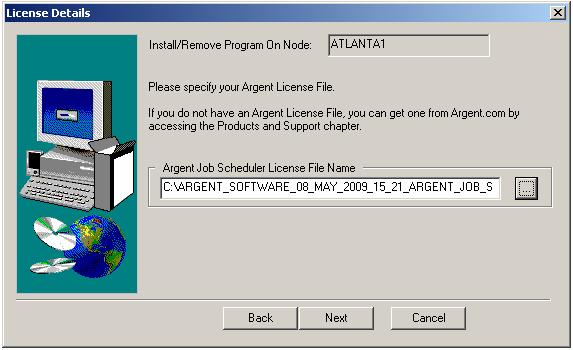
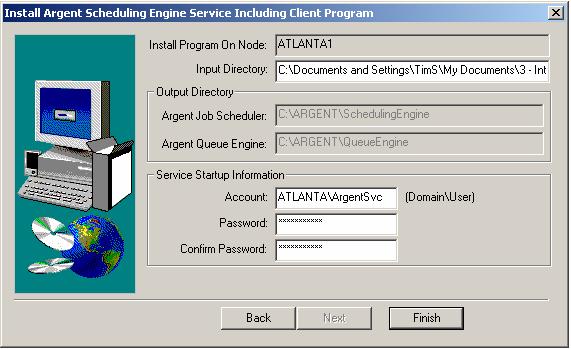
Run the Argent Job Scheduler 7.1 SETUP.EXE program and only upgrade the Argent Job Scheduling Engine as shown below:
-
Additional setup screens will appear. Fill them out as needed.
-
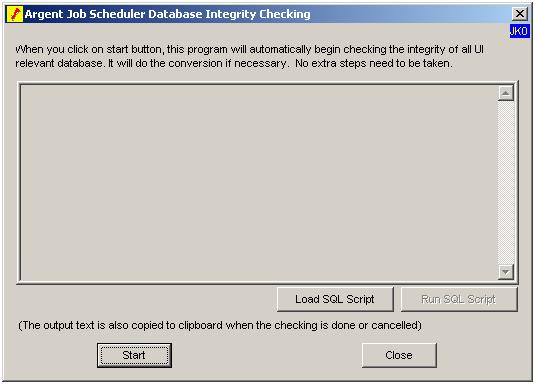
When the Argent Job Scheduler Database Integrity Checking screen appears, click Start as shown below:
-
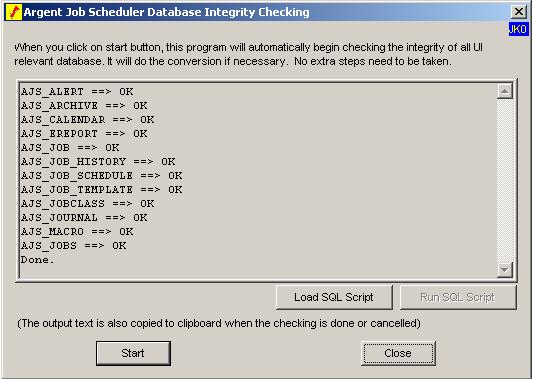
When the database integrity check is complete, confirm the results then click Close
-
The final Setup screen (as shown below) should appear:
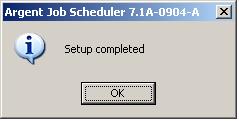
Note: As a result of the upgrade, the Argent Job Scheduler service will be renamed from The Argent Job Scheduler – Scheduling Engine to Argent Job Scheduler – Scheduling Engine, the service StartUp Type will be set back to Automatic and the actual Argent Job Scheduler – Scheduling Engine service will enter a running state.
-
Set the Argent Job Scheduler – Scheduling Engine service StartUp Type to Manual
- Stop the Argent Job Scheduler – Scheduling Engine service before continuing with the steps described in the next section!


|
Your Argent Job Scheduler is a critical production system, the well-being of which directly affects large segments of your IT operation. Feel free at any time, day or night, 24 hours-a-day, 365 days-a-year to contact Argent
|