Using WRKAGTCMD
Integration With iSeries Security
The Argent Agent for iSeries is completely integrated with normal iSeries security. In secure environments, the system security officer will typically manage the authority to use certain powerful commands using the RVKOBJAUT command or the EDTOBJAUT command. In an environment where the policy is to prevent use of the DLTLIB command, for example, the system security officer might use the RVKOBJAUT command to prevent a user or user group from issuing the DLTLIB command.
In such an environment, the Argent Agent for iSeries cooperates fully and integrates completely with your existing security policies. The reserved ARGENT user profile is delivered with normal command execution authority. If the system security officer decides to issue the RVKOBJAUT command to prevent the ARGENT user profile from issuing the DLTLIB command, the Argent Agent for iSeries will check to see if there is sufficient authority to execute DLTLIB.
In environments where strict security administration is not as much of a concern, but security is still important, the Argent Agent for iSeries support configuration of a list of commands that will be disallowed. (If the CFGARGAGT command has been used to specify that the default command processing behavior is to disallow commands, then the list configuration defines allowed commands.)
Getting Started With WRKAGTCMD
The WRKAGTCMD is a command that has no keywords or parameters. From a command line, just type
WRKAGTCMD
And press <Enter>. The following display is presented:
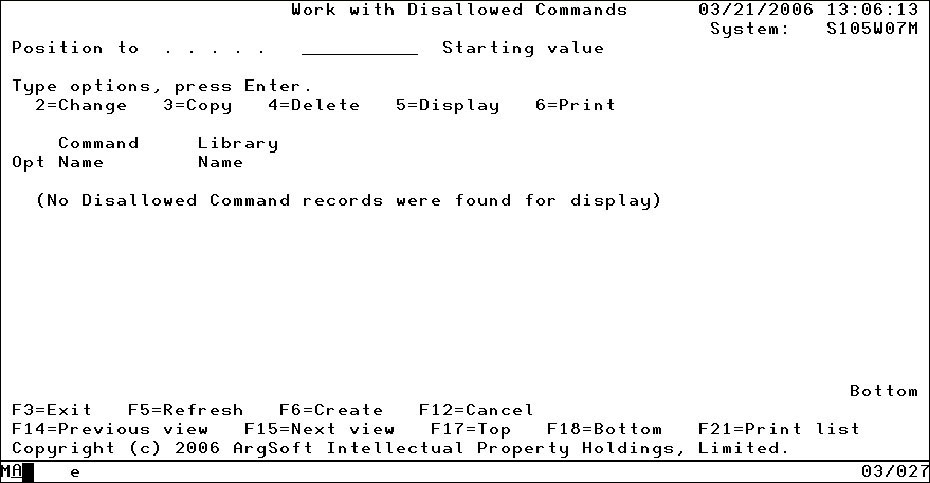
This example assumes that the CMDDFT keyword of the CFGARGAGT command was specified as CMDDFT(*ALLOW).
If the CMDDFT keyword of the CFGARGAGT command was specified as CMDDFT(*DISALLOW), then the initial display will appear as shown below:
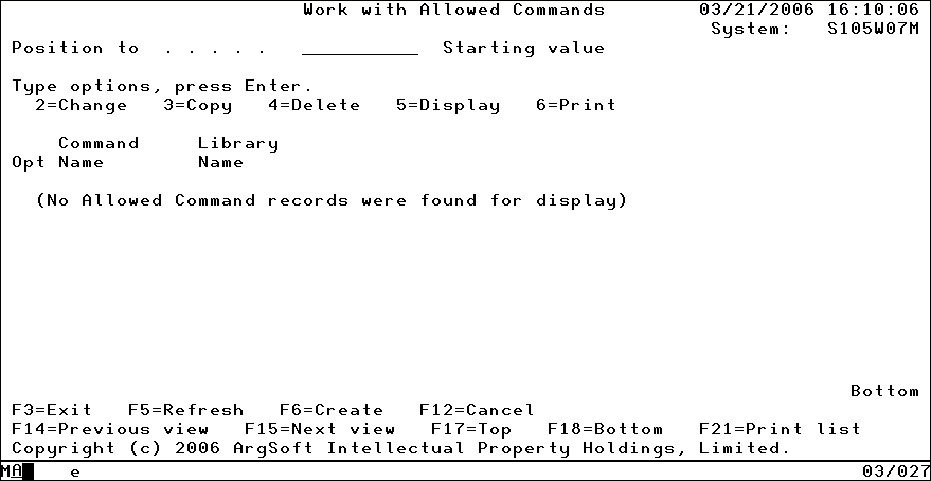
The meaning of the list will always be to allow you to configure the least possible number of entries that satisfy your enterprise security requirements. The configured list will always express the exception to the configured default command processing behavior.
When you first start using the Argent Agent for iSeries, the list will be empty. You can use the F6=Create command key to add entries to the list. When you press command key F6 =Enter, the following display is shown:
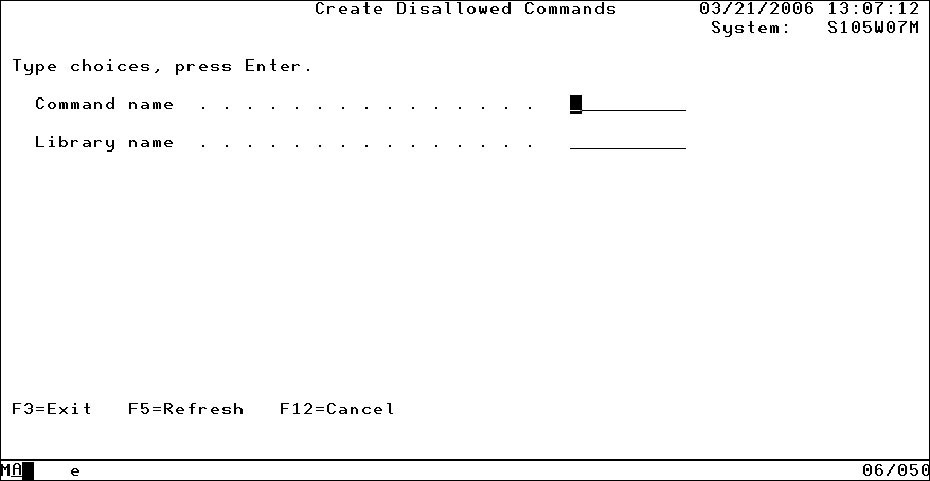
At the prompts provided, type the name of the command you want to add to the list and the library where the command resides. An example is shown below:
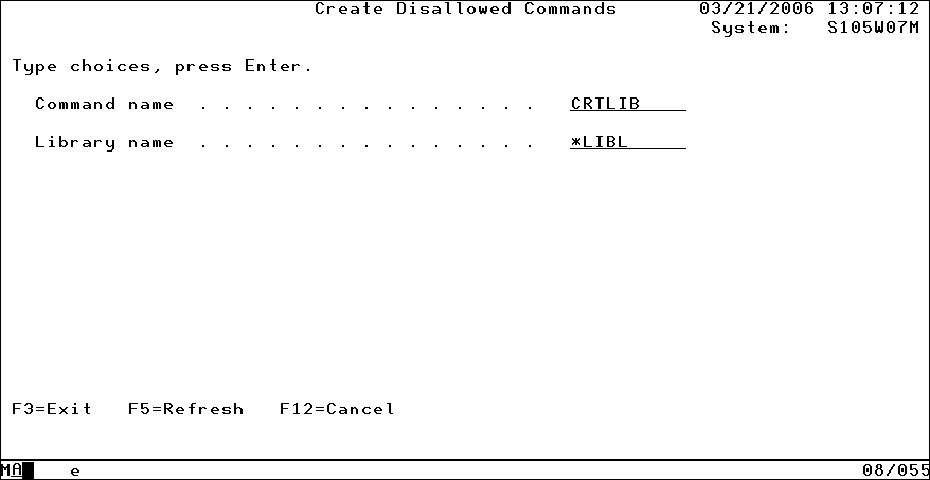
When you press <Enter>, WRKAGTCMD checks to make sure the command name is valid and that it resides in the library you specify. The special value *LIBL is supported as a library name. In this context, *LIBL refers to the library list of the Argent Agent for iSeries worker process as it executes.
If the command name is valid and is found in the specified library, the entry is added to the list and a confirmation message is shown at the bottom of the display. An example is shown below:
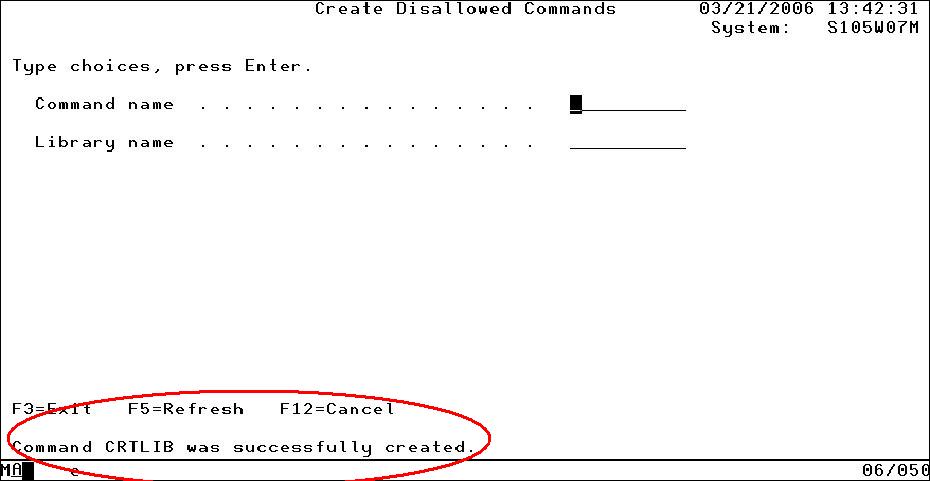
WRKAGTCMD will remain in on the same display until you are done adding commands to the list.
You can view the growing list at any time by pressing command key F12=Cancel. This cancels the entry mode and displays the list of commands.
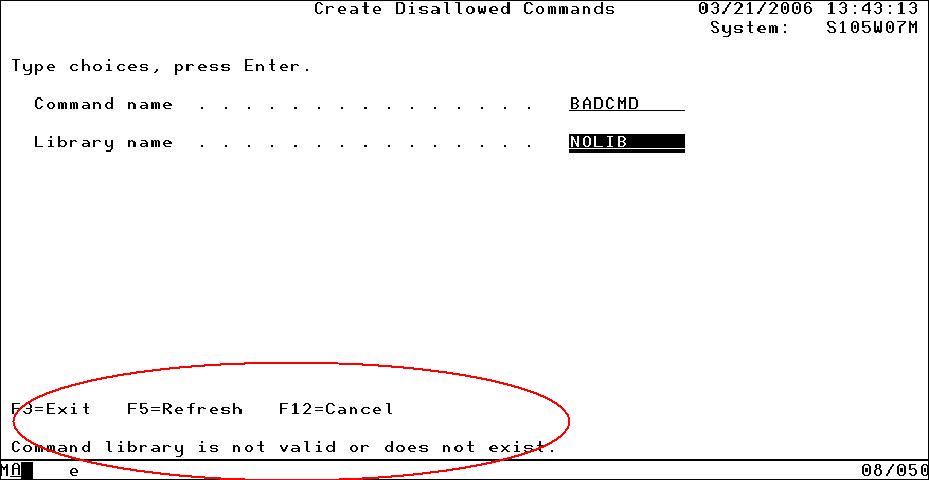
The command name you specify and the library name must be valid and must exist. If you specify a library that does not exist, for example, a message is shown at the bottom of the display. An example of this is shown below:
When you are finished adding commands to the list, press command key F12 =Cancel. The main list view will be displayed as shown below:
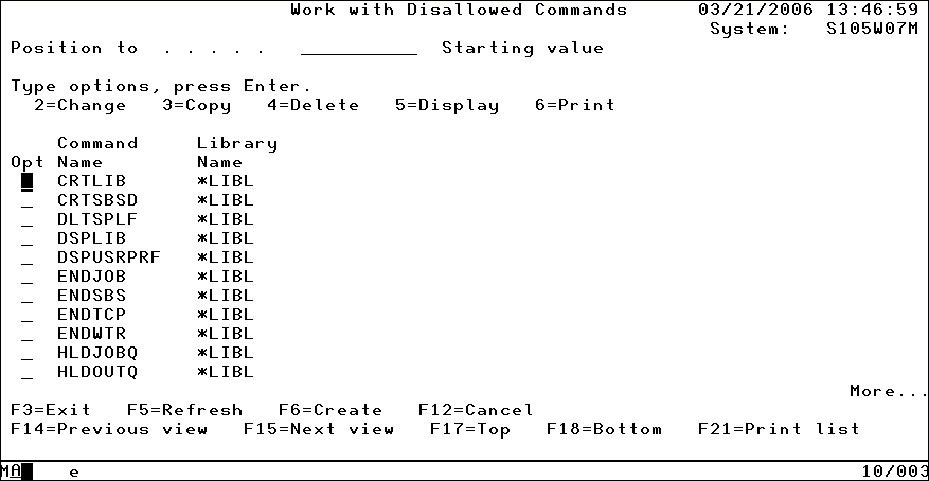
You can use the <Page Up> and <Page Down> keys to scroll forward and backward through the list.
You can use the “Position to” prompt near the top of the display to start the list at a specific point. To position the list to the “E“‘s, for example, type E in the “Position to” prompt and press <Enter>. The list will be repositioned to start with the elements of the list that begin with “E“. An example is shown below:
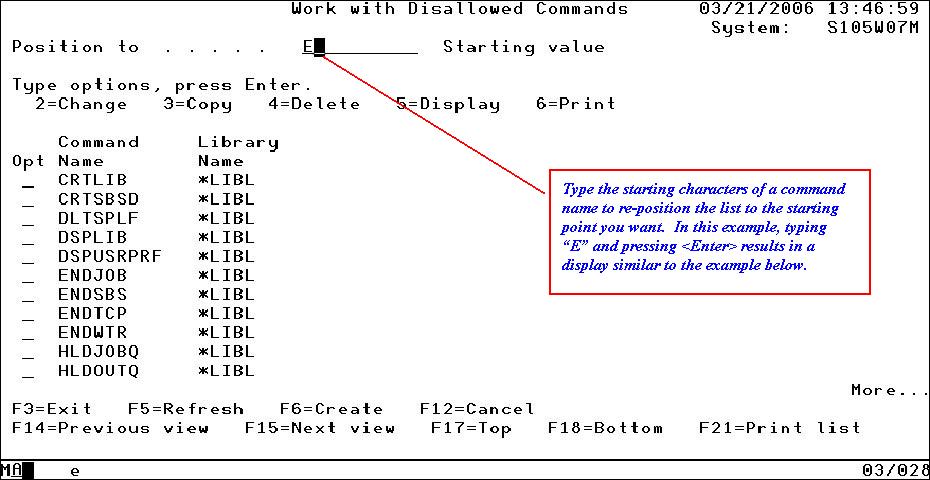

Note that the display starts with the “E“‘s.
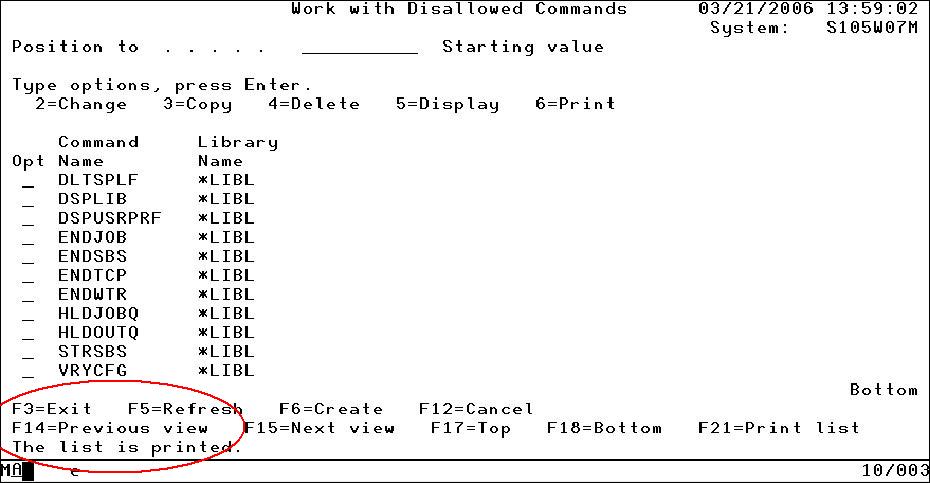
To print the entire list, you can press command key F21 =Print list. The list is printed to the printer associated with your workstation terminal session. A confirmation message is shown at the bottom of the display. An example is shown below:
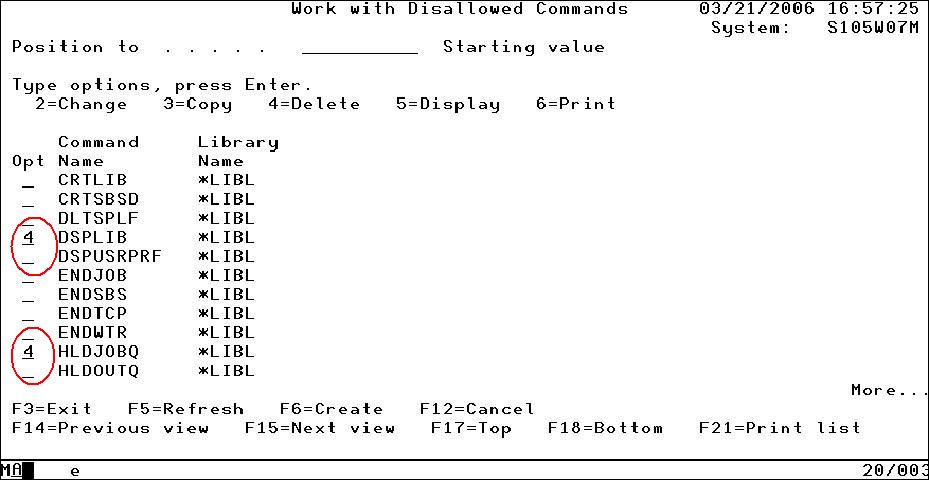
To delete one or more entries from the list, you can type Option 4=Delete next to the entry you want to remove from the list as shown in he example below.
Press <Enter> to continue with the deletion. A confirmation display appears as shown below:
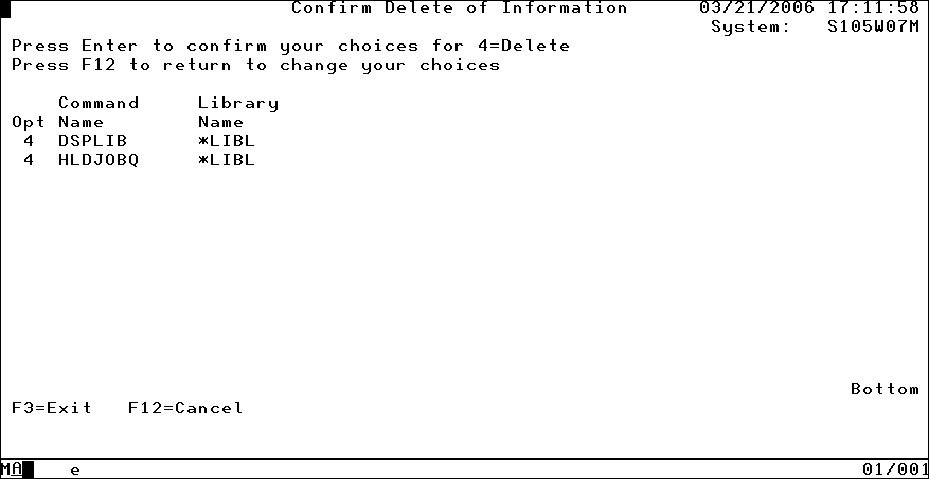
If you’re sure you want to remove the entries from the list, press <Enter >. If you want cancel the deletion, press command key F12=Cancel.