Using MSDE As The Argent Backend
If customers are not sure about any steps in the document or are not positive on how to proceed on a certain step, contact Argent Technical Support FIRST. Proceeding with an incorrect step could result in loss of data.
Using MSDE as the Argent Backend
From the folder where the Argent Job Scheduler install kit resides, the customer begins the re-installation by double-clicking SETUP.exe. The Argent Job Scheduler setup window is shown as in the example below:
The customer clicks Next to continue.
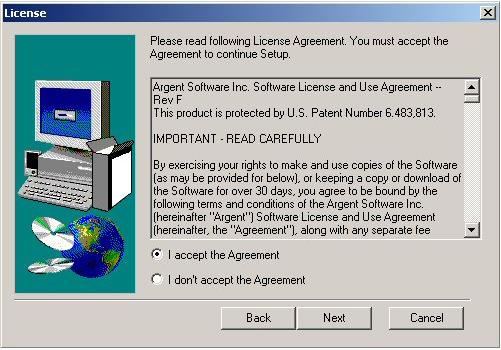
The license confirmation window is displayed as shown in following example.
The customer selects I accept the Agreement and then clicks Next to continue.
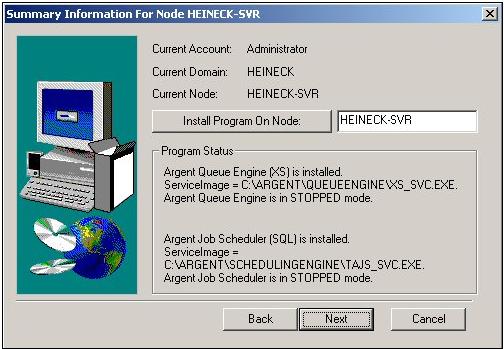
The installation summary confirmation window is displayed as in the following example.
The customer clicks Next to continue
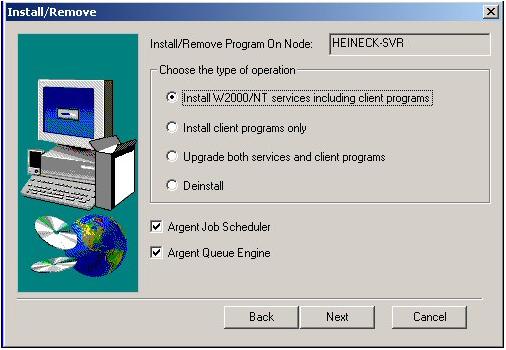
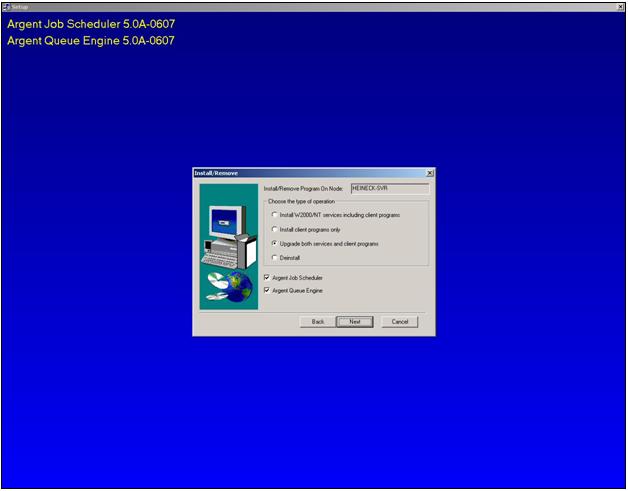
The Install/Remove window is displayed. The customer selects Install W2000/NT Services including client programs as shown in the example below:
After making the correct selections, the customer clicks Next to continue.
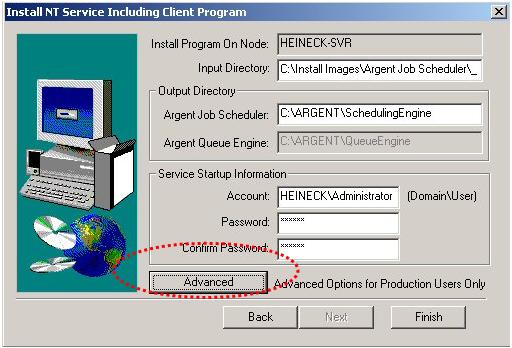
The Install NT Service Including Client Program window is displayed as shown in the example below.
The customer must leave the Input Directory and Output Directory unchanged. The customer then must provide the account name and password information for the user account which will be used to start the Argent Job Scheduler services. An example is shown below:
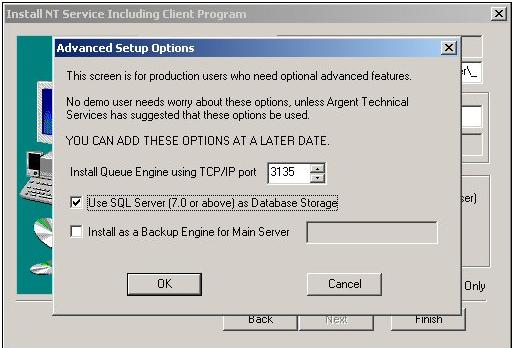
The customer must click Advanced to view and complete the prompts needed to install the support for using MSDE as a backend database.
The Advanced Setup Options window is displayed.

The customer selects Use SQL Server (7.0 or above) as Database Storage then clicks OK to continue.
The Install NT Service Including Client Program window is re-displayed. The customer then clicks Finish to complete the prompts and continue with the re-installation of the Argent Job Scheduler scheduling engine.
The Customer Information window is displayed as shown below:
The customer types the appropriate contact information and then clicks OK to continue.
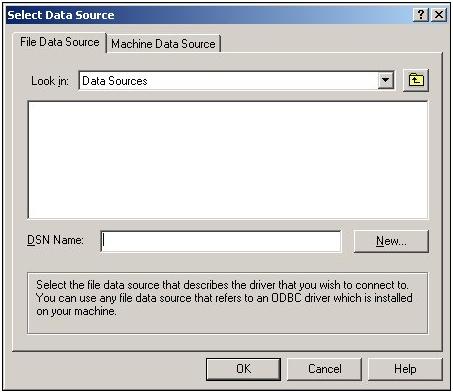
The Select Data Source window is displayed as shown in the example below:
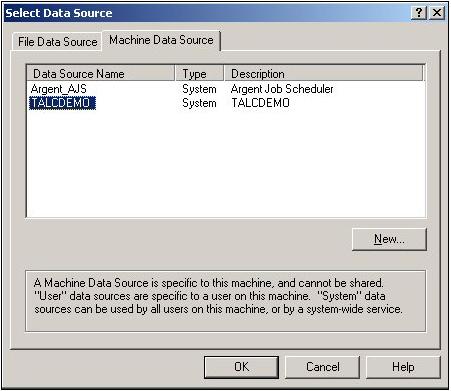
The customer must click the Machine Data Source tab then select the ODBC DSN created earlier as shown in the example below:
The customer then clicks OK to continue.
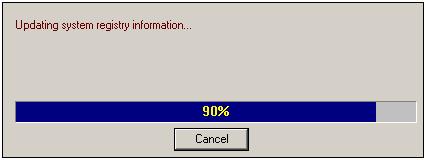
Several progress indicator windows are displayed as shown in the example below:
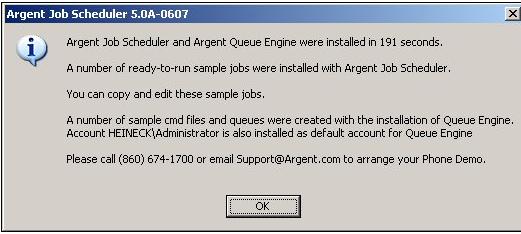
After the installation process is complete, a confirmation window is displayed as shown in the example below:
The customer clicks OK
|
Your Argent Job Scheduler is a critical production system, the well-being of which directly affects large segments of your IT operation. Feel free at any time, day or night, 24 hours-a-day, 365 days-a-year to contact Argent
|