KBI 310903 Built-In Cross Reference Reports
Version
All Argent Reports versions
Date
Tuesday, 8 Apr 2014
Summary
Argent Reports has a large number of built-in cross-reference reports
These reports are very useful for Administrators
This article explains how to use these built-in reports, how to create new reports, and the links on YouTube of training videos
In Argent Reports, Administrators can generate a report to allow auditing of any Argent products that an ex-employee is receiving alerts from, and what Relators they are associated with
Technical Background
N/A
Resolution
Using Built-In Reports
This section is a detailed description of how to use a cross-reference built-in report
These built-in reports, an Administrator can be generated a report within one minute
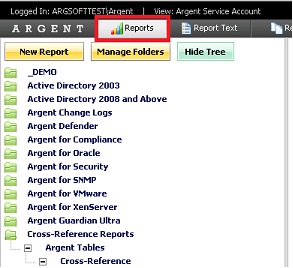
STEP 1: Click ‘Reports‘ tab in Argent Reports Web or GUI screen
STEP 2: Double click ‘Cross-Reference Reports‘ folder under Reports Tab in Argent Reports Web or GUI screen
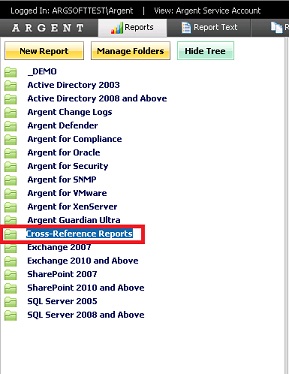
STEP 3: Choose a ‘Cross-Reference Reports‘ from the list of built-in reports

STEP 4: Click the plus sign to ‘Apply To The Following Nodes‘

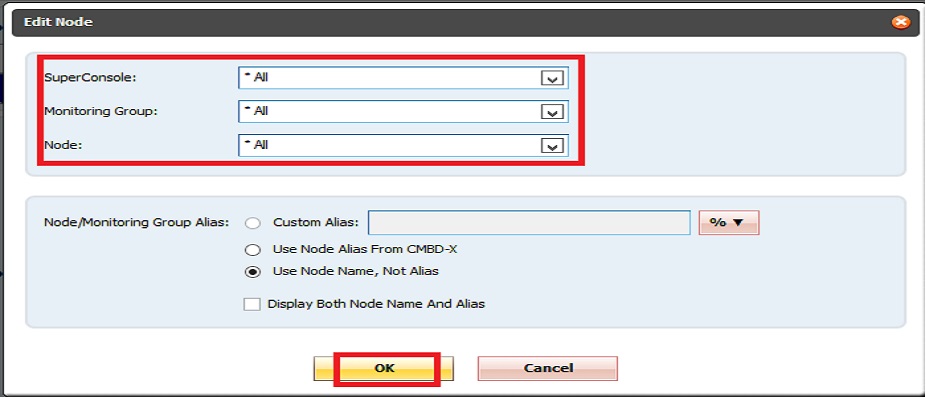
STEP 5: In Edit Node, Select ‘ALL‘ for ‘Super Console‘, ‘Monitoring Groups‘ and ‘Node‘ then click ‘OK‘
STEP 6: Click ‘Save‘

STEP 7: Then click Preview HTML to preview the report

STEP 8: Generated built-in report

Creating A New Report
This section is a detailed description of how to create a new report
While there are a lot of steps, these are all very simple and new reports can be created in two or three minutes
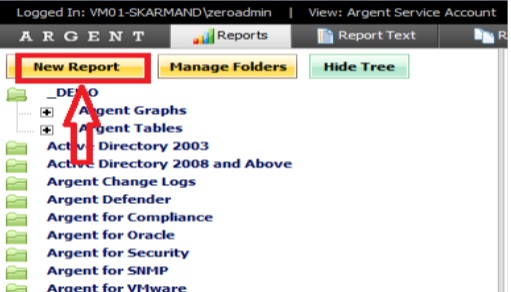
STEP 1: Select ‘New Reports‘ from Reports Tab in Argent Reports Web or GUI screen
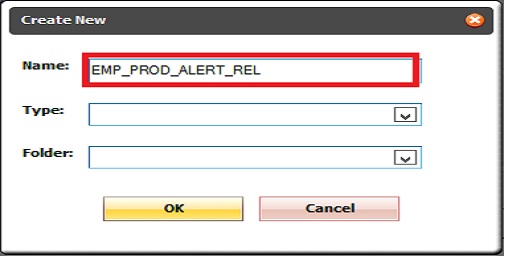
STEP 2: Enter a name for your New Report
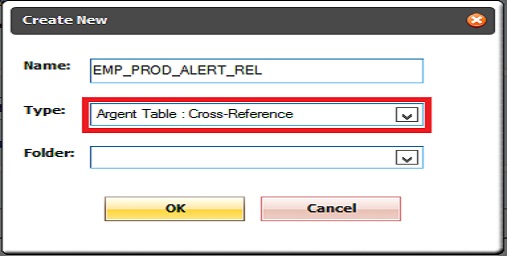
STEP 3: Select Type ‘Argent Table : Cross-Reference‘
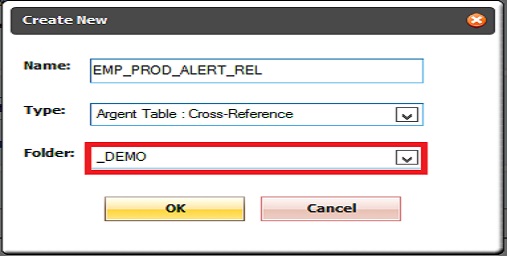
STEP 4: Pick a Folder to place the new report in
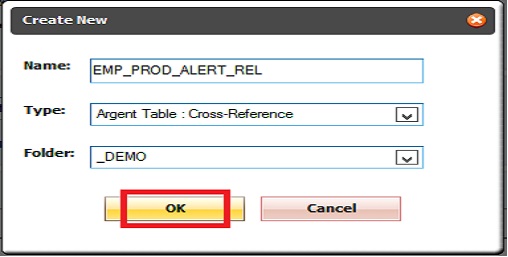
STEP 5: Click ‘OK‘
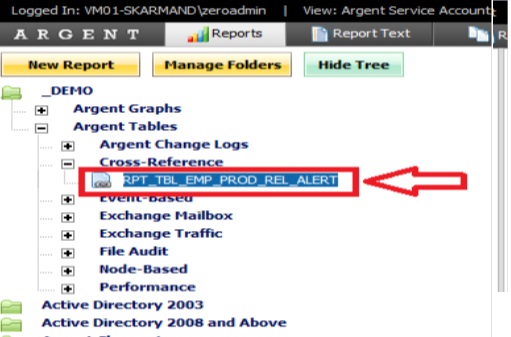
STEP 6: Select the newly created report
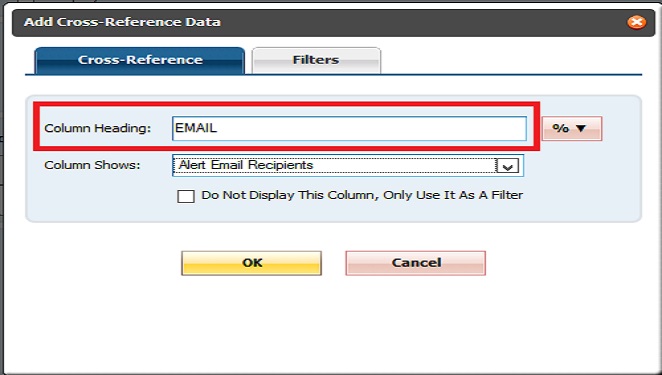
STEP 7: Click the plus sign to add Cross-Reference Data

STEP 8: Enter ‘EMAIL‘ in Column Heading
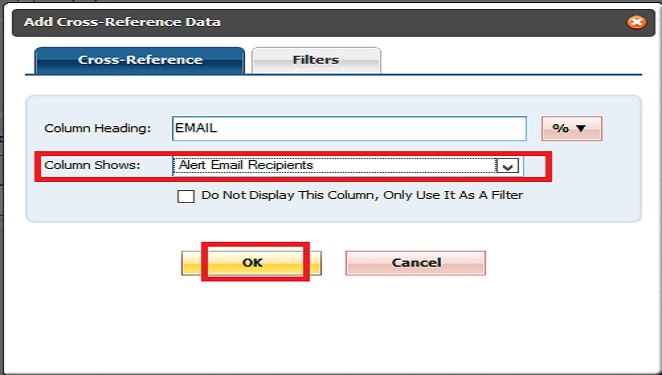
STEP 9: Pick ‘ALERT EMAIL RECIPIENTS‘ in Column Shows and Click ‘Ok‘
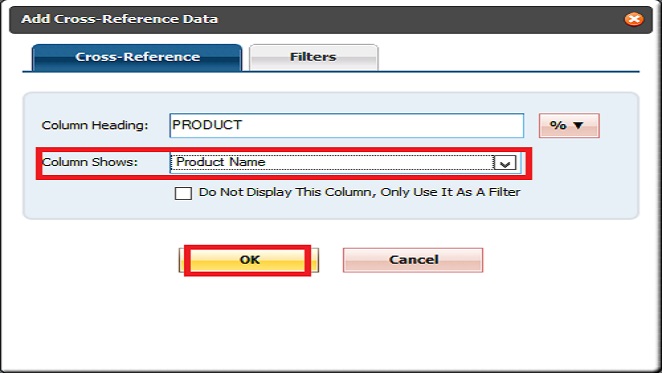
STEP 10: Enter ‘PRODUCT‘ in Column Heading
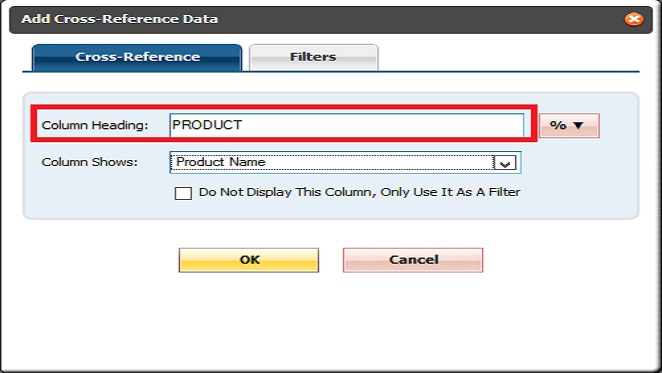
STEP 11: Pick ‘PRODUCT NAME‘ in Column Shows and Click ‘OK‘
STEP 12: Enter ‘ALERT TYPE —- ALERT NAME‘ in Column Heading

STEP 13: Pick ‘ALERT NAMES‘ in Column Shows and Click ‘OK‘

STEP 14: Enter ‘RELATOR‘ in Column Heading

STEP 15: Pick ‘RELATOR NAME‘ in Column Shows and Click ‘OK‘

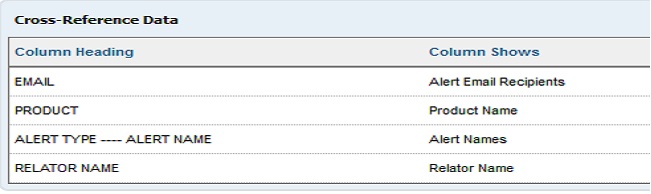
STEP 16: You should have the following Cross-Reference Data
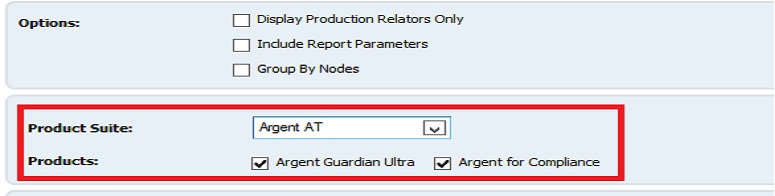
STEP 17: For ‘PRODUCT SUITE‘ select Argent AT and check appropriate ‘PRODUCTS‘
STEP 18: Click the plus sign to ‘Apply To The Following Nodes‘
STEP 19: In Edit Node, Select ‘ALL‘ for ‘Super Console‘, ‘Monitoring Groups‘ and ‘Node‘ then click ‘OK‘
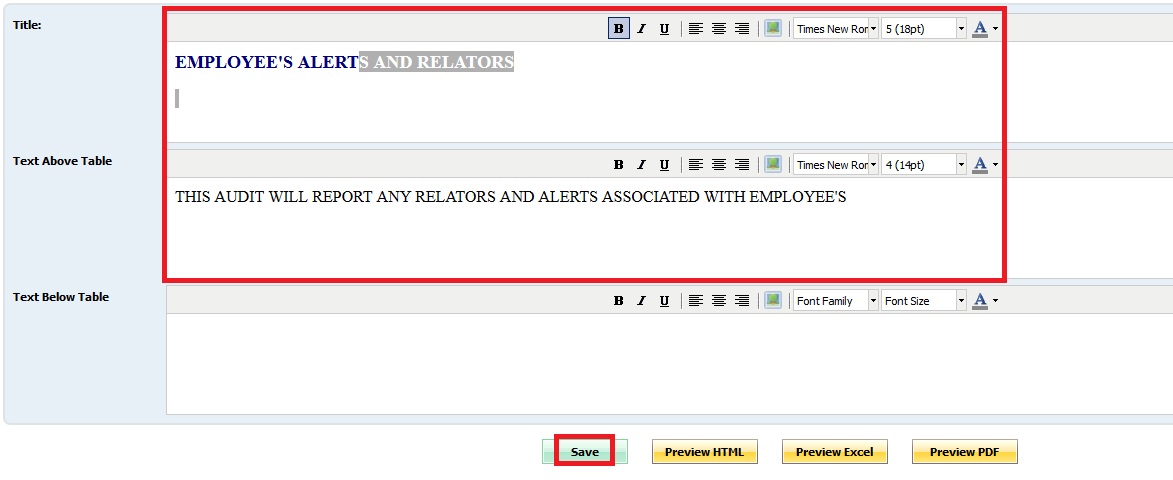
STEP 20: Enter a report ‘Title‘, and description in ‘Text Above Table‘ then click ‘SAVE‘
STEP 21: Click Preview HTML to preview the report
STEP 22: Generated Report

YouTube Training Videos
For more information and tutorials on utilizing Argent Reports, you can also view the following YouTube videos:
Argent Reports – Overview
http://www.youtube.com/watch?v=W14FYzSWGHg
Argent Reports – Making An Argent Cross-Reference Report
http://www.youtube.com/watch?v=uD7fcDIeLjY
Argent Reports – Making Top X Reports
http://www.youtube.com/watch?v=99jRRrRoKtk
Argent Reports – Making File Audit Reports
http://www.youtube.com/watch?v=zSu-f9jW058
Argent Reports – Making Argent Change Log Reports
http://www.youtube.com/watch?v=OM4Gi0-GkDU
Argent Reports – Making Security Audit Reports
http://www.youtube.com/watch?v=sP_DPvvtszk
Argent Reports – Making Licensed Node Reports
www.youtube.com/watch?v=193A_oqxQkM
Argent Reports – Proprietary Database Tables
http://www.youtube.com/watch?v=NCKo5XUFD4A
Argent Reports – Making CPU Usage Graphs