KBI 311577 Argent for Oracle Requires Oracle 12C 32 Bit Client And 32 Bit Visual C++ Redistributable For Visual Studio 2013
Version
Argent Advanced Technology 5.1A-1610-A or above
Date
Thursday, 14 September 2017
Summary
To support both 32 bit and 64 bit Oracle database server environments, Argent for Oracle requires 32 bit Oracle 12C client and 32 bit Visual C++ Redistributable For Visual Studio 2013 needs to be installed in the Argent Server before upgrading Argent AT to version 5.1A-1610-A or above
Technical Background
Argent uses Oracle 12c C++ Call Interface to monitor Oracle database server and these libraries are built using Visual C++ 2013
So 32 bit Visual C++ Redistributable Package for Visual Studio 2013 must be installed in Argent server to monitor the Oracle databases using Argent for Oracle
The Visual C++ Redistributable Package for Visual Studio 2013 is downloadable in following Microsoft link:
https://www.microsoft.com/en-in/download/details.aspx?id=40784
Argent for Oracle also requires Oracle 12C 32 bit client needs to be installed in Argent server before upgrading Argent Advanced Technology to 5.1A 1610-A
The Oracle client installation package is available in following Oracle website:
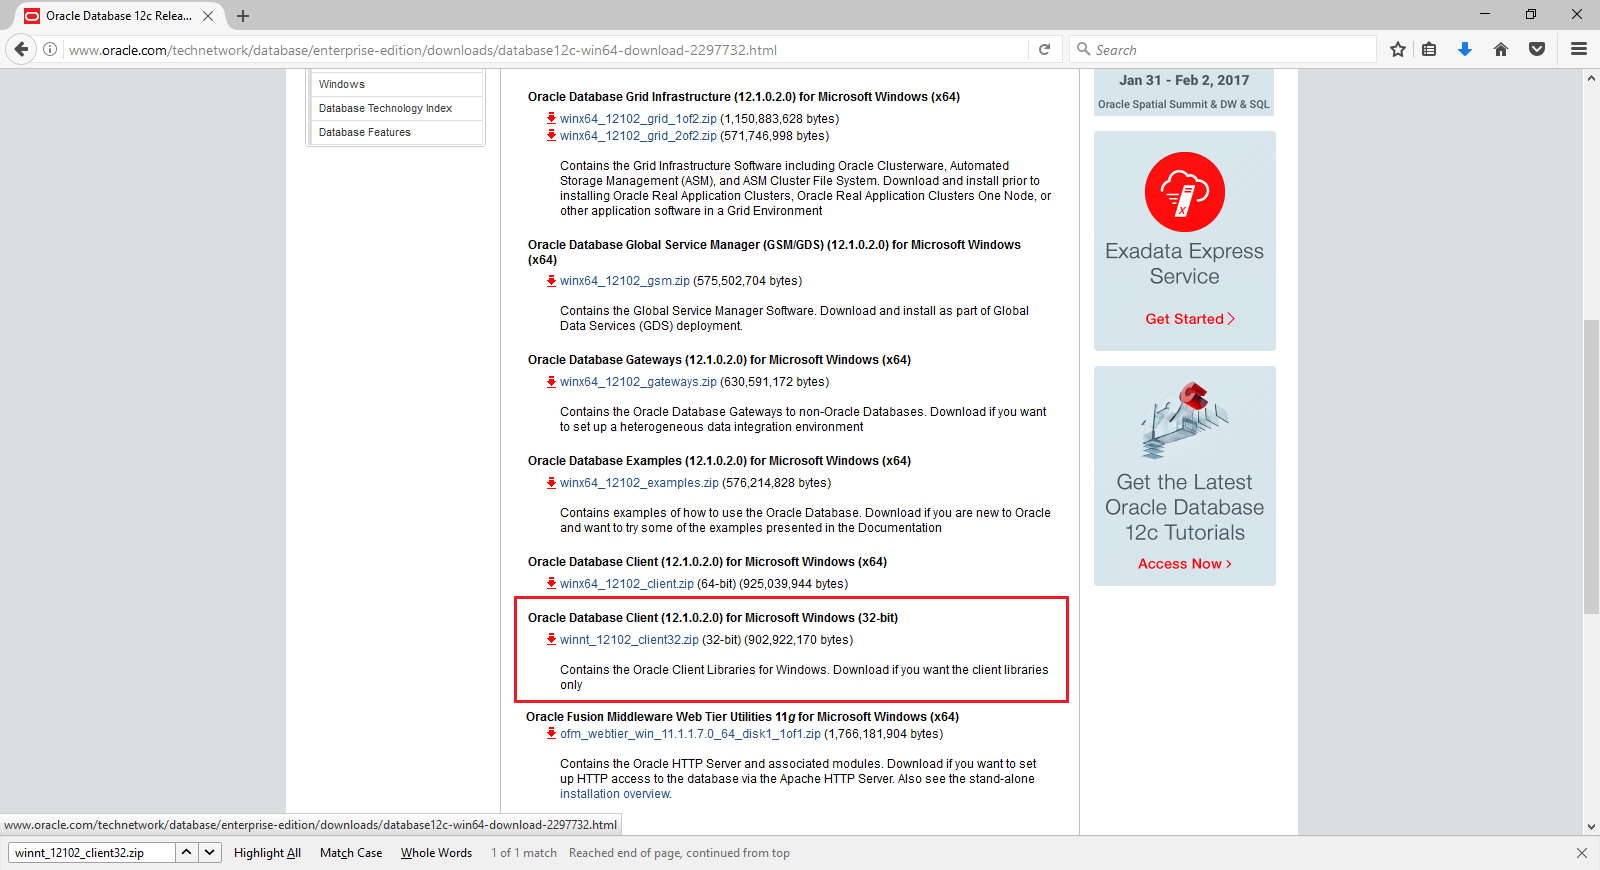
The detailed steps of installation and configuration are described in the following sections
Note: Before starting Oracle 12C 32 bit client installation, make sure that “Argent for Oracle – Scheduling Engine” service is stopped
Install And Configure Oracle 32 bit 12C Client
Download and extract the installation zip file and run setup.exe
This will bring the following screen:
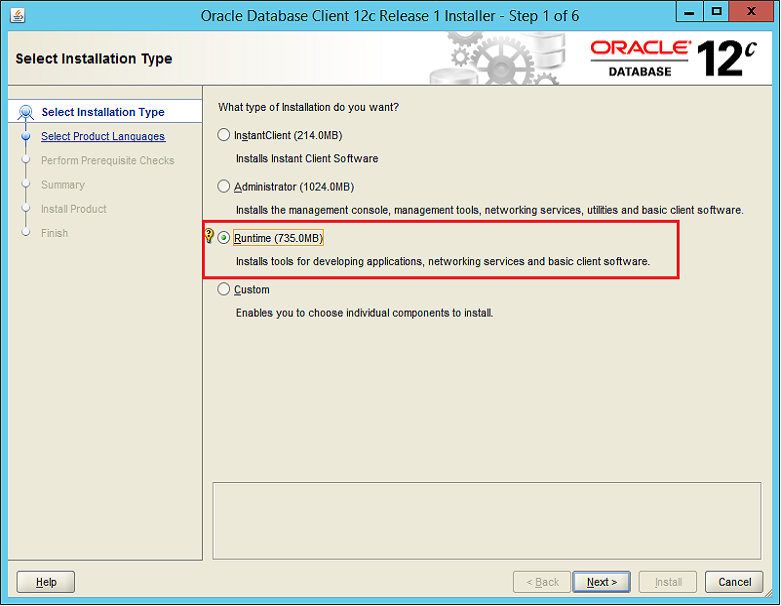
Select the above highlighted type of installation and click ‘Next’ button
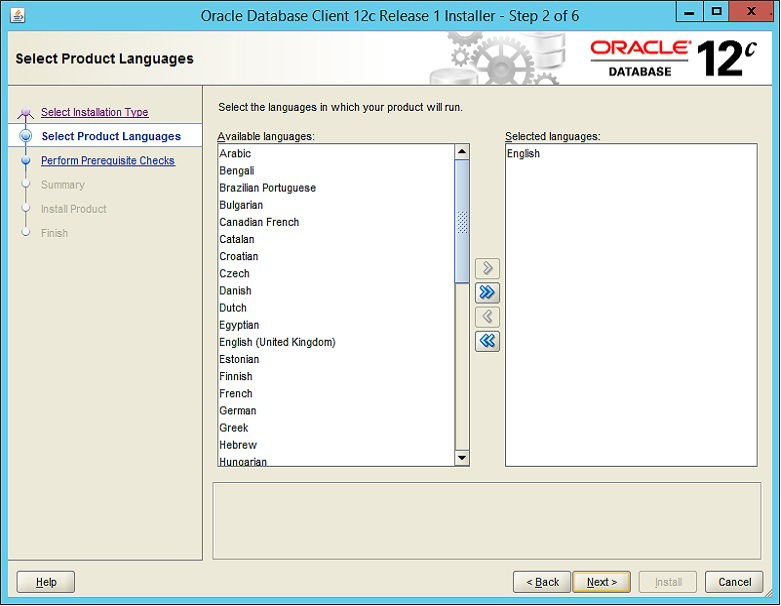
Select the language and click ‘Next’ button
Specify Oracle home user:
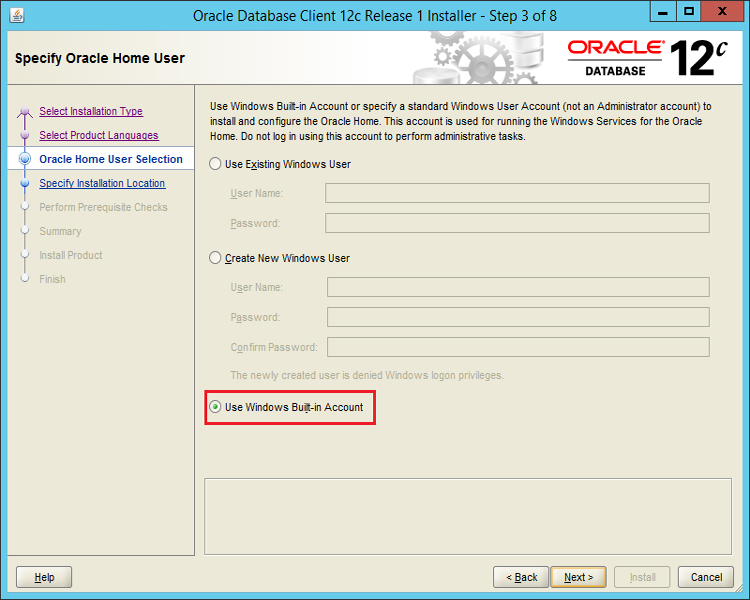
Choose ‘Windows Built-in Account’ as shown above and click ‘Next’ button
Specify installation location:
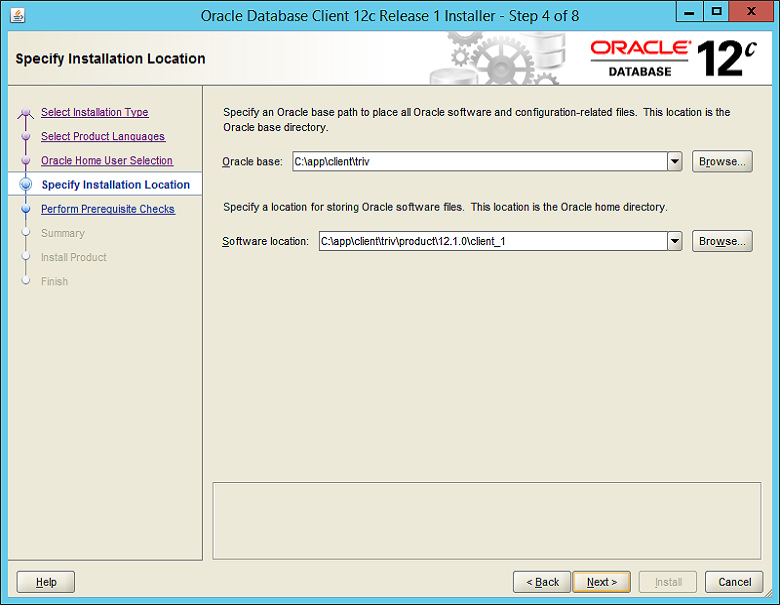
Click ‘Next’ Button
The next screen shows the installation summary as shown below:
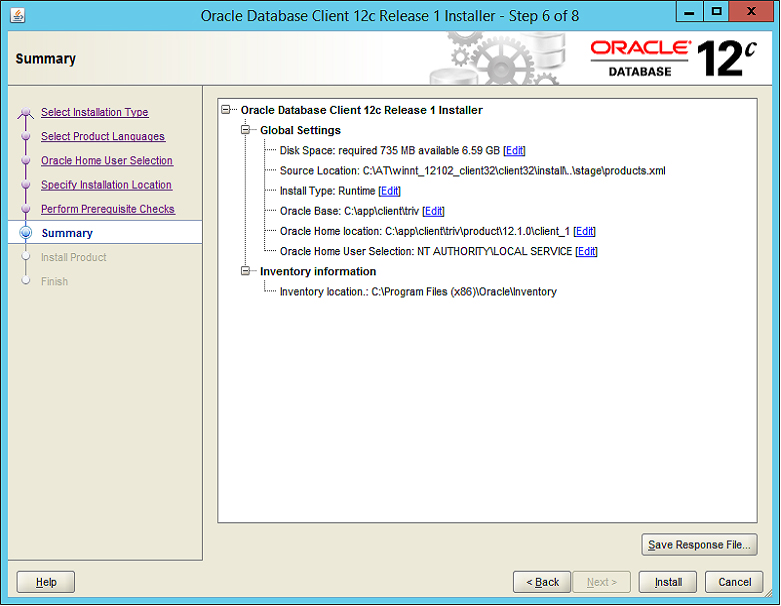
Click ‘Install’ button to proceed the installation
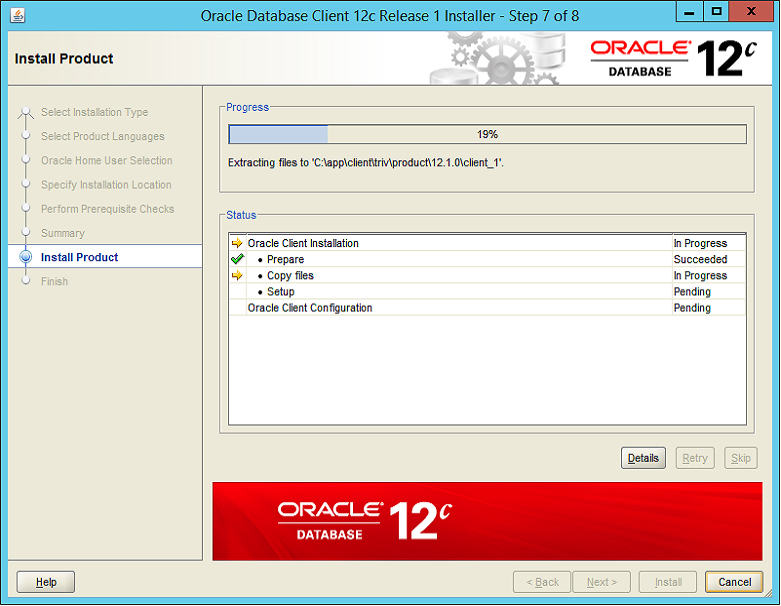
Installation in progress:
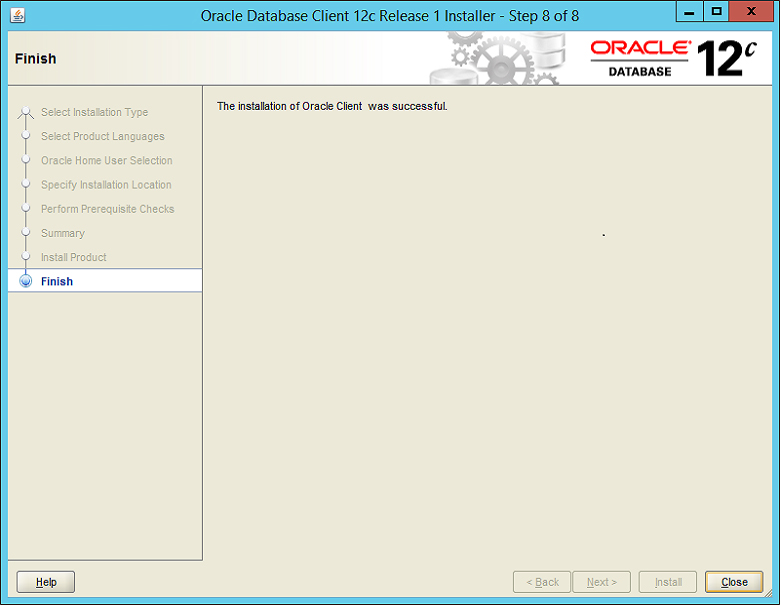
Successful installation shows the following final screen:
Configure Oracle Service Name
After the Oracle Client Installation, Oracle Service Name must be configured to establish connection with Oracle Server
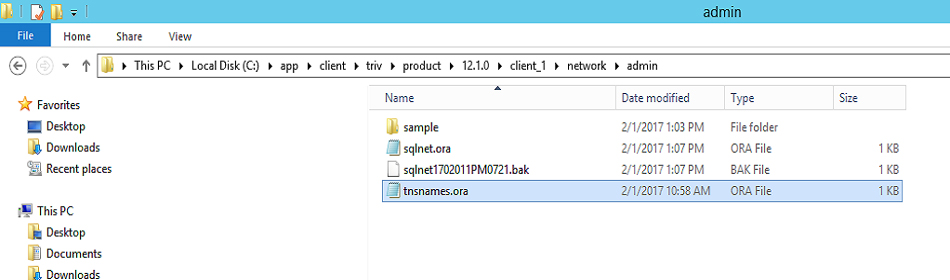
For this, create a file, named ‘tnsnames.ora’ in the Network\Admin folder of the Oracle installation path
As per the configuration illustrated in the above screenshots, it will be
‘C:\app\client\triv\product\12.1.0\client_1\network\admin’
A sample ‘tnsnames.ora’ file is shown below
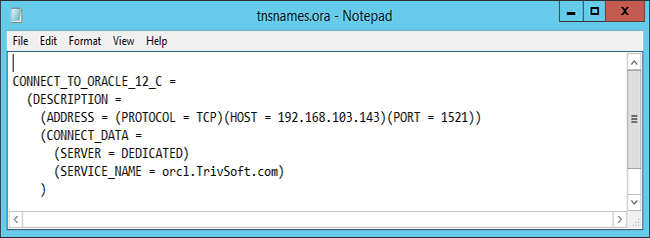
Explanation of tags is as follows:
|
Machine name or IP address of the Oracle Server | ||
|
Port number that Oracle is listening for incoming connections | ||
|
Name configured at the time of Oracle Server installation | ||
Note: After the installation of Oracle 12C 32 bit client, please remember to start ‘Argent for Oracle – Scheduling Engine’ service
Resolution
N/A