KBI 310265 Building a Monitoring Group for Argent XT
Version
Argent Extended Technology – All versions
Date
17 Oct 2011
Summary
Monitoring Groups, in short, are an organized view of the Argent Master Catalog.
For a more detailed definition of Monitoring Groups, Argent in Detail talks more about it here.
This article’s purpose is not to tell you what a Monitoring Group is but whether how to build a Monitoring Group from scratch.
Technical Background
Creating a new Monitoring Group is quite easy.
Although you can create a Monitoring Group while in any Argent Products consoles and is shared amongst all Argent products;
in these examples, we will be using the Argent Alert Console (Events and Alerts – A3).
Below are the steps to create a new Monitoring Group:
-
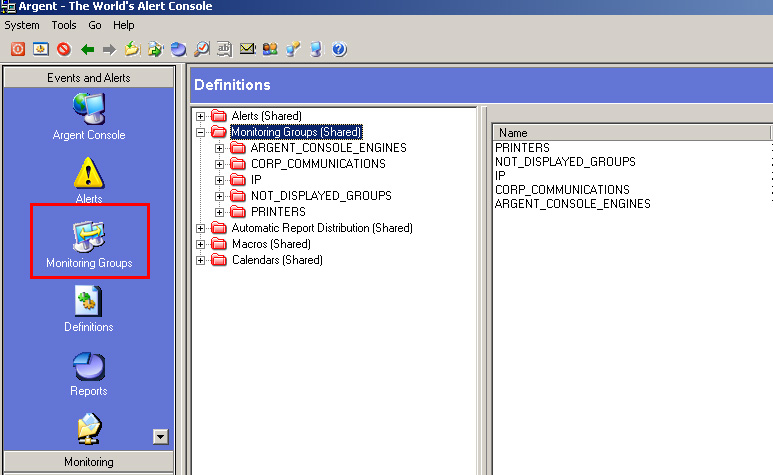
Once you have the Argent Alert Console open, select the ‘Monitoring Groups‘ icon in the left hand blue frame.
-
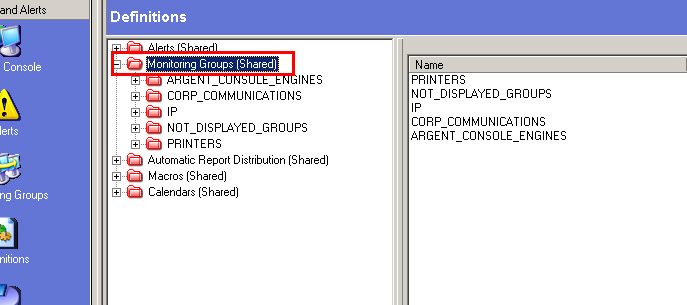
Once selected, the ‘Monitoring Groups(Shared)‘ folder in the middle frame should be highlighted.
-
Next, we will create a SuperConsole. We do this by right clicking on ‘Monitoring Groups (Shared)‘ and choosing ‘New SuperConsole‘
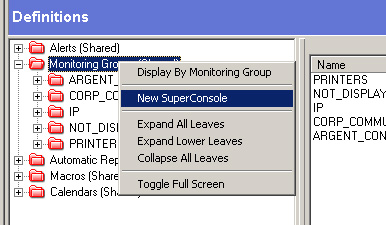
Note: In existing Argent installations, the need to create new SuperConsole might not be necessary.
The main purpose of the SuperConsole is for better organization of your Argent environment.
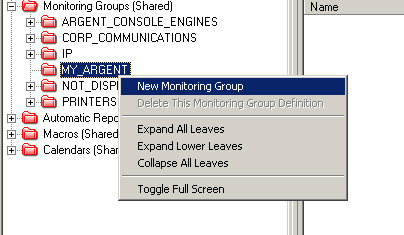
Once the SuperConsole has been created (or chosen from existing SuperConsoles listed),
right click on the SuperConsole and choose ‘New Monitoring Group‘
Name the Monitoring Group so any looking at the Argent environment can tell from a glance what devices this Monitoring Group houses.
Examples: Exchange_Servers or WINDOWS_SERVERS
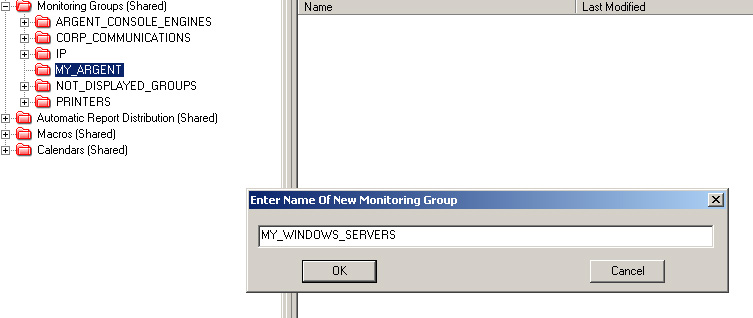
Press ‘OK‘
In the right hand screen (C3A), you will see a list of all your current devices in the Master Catalog.
You can filter this by the radio buttons in the top left corner of the frame.
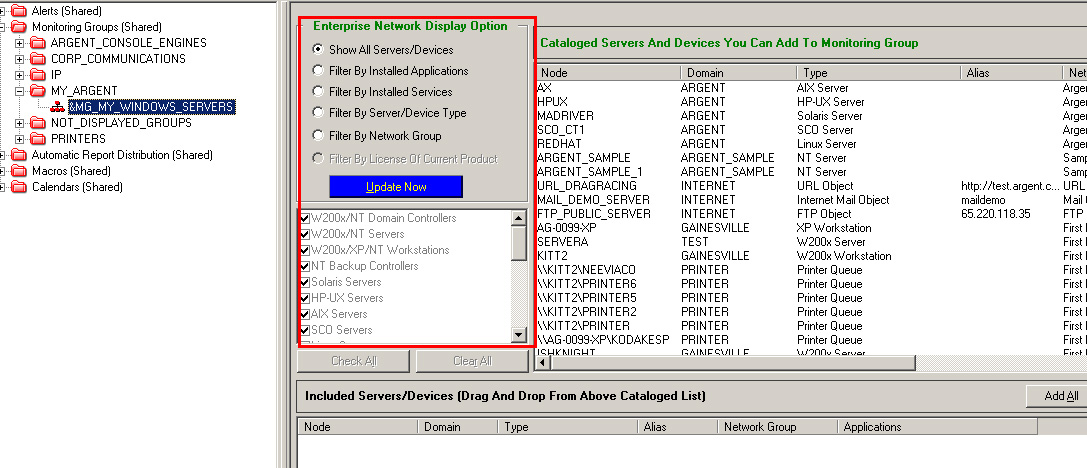
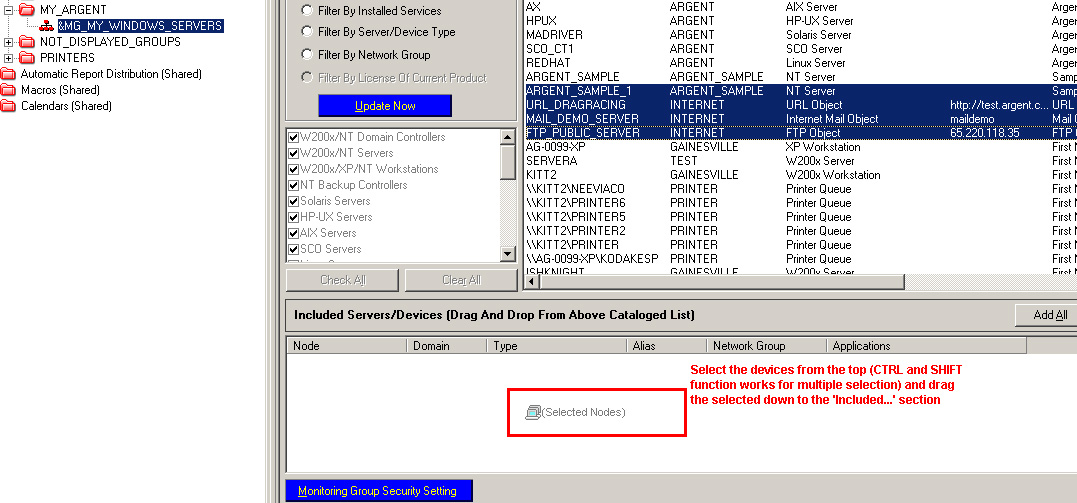
Adding devices to your new Monitoring Group is as simple as drag ‘n drop!
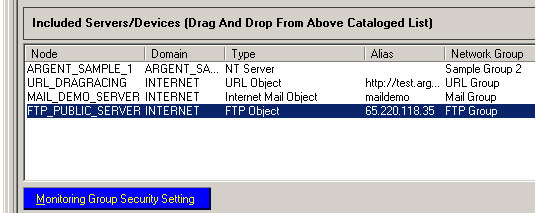
Within each Monitoring Group, you can also set optional security features,
allowing certain users to not be able to use certain Monitoring Groups. Of course,
you do not have to set these unless you wish too. To set the security up, press the ‘Monitoring Group Security Settings‘ button
Once the security window (C3C) is up, choose from one of the ‘User Rights‘
options and choose any number of Users or User Groups to associate with this Monitoring Group.
NOTE: Argent follows the LEAST restrictive security section (opposite of NTFS Security).
Once you have finished, right click on the new Monitoring Group name and choose ‘Save‘
THAT’S IT! You have created a Monitoring Group from scratch in Argent Extended Technology!
Congratulations!
Resolution
N/A