KBI 311086 Argent WorldView Installation Guide
Version
Argent WorldView all versions
Date
Tuesday, 7 Oct 2014
Summary
Guide for installing Argent WorldView
Technical Background
Argent WorldView Installation consists of two main components:
- Argent WorldView Web Service
- Argent WorldView Website
Argent WorldView Web Service is the web service component of Argent WorldView
This should be installed on all machines with Argent Job Scheduler Scheduling Engine installations that have to be listed in the Argent WorldView website
The web service communicates with the corresponding Scheduling Engines to pull data for the Argent WorldView website
Upon successful installation of Argent WorldView web service, a URL is displayed which needs to be specified in the Argent WorldView website so as to list the corresponding Scheduling Engine in Argent WorldView website
However, Argent WorldView website installation does not require a Scheduling Engine installed on the same machine
Any number of Scheduling Engines that are installed on different machines can be integrated to one single Argent WorldView website, by specifying its URL details
Argent WorldView website can be browsed from any machines such as a standard computer, tablets, smart phones etc
Installation
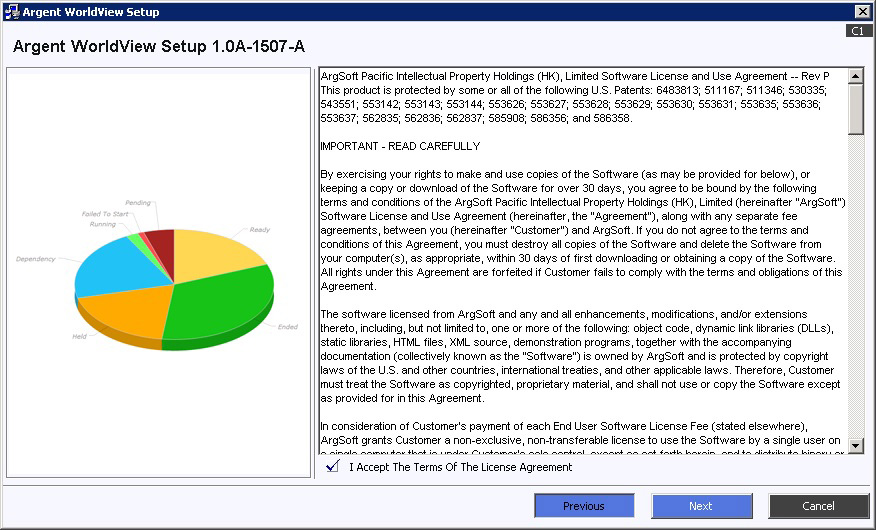
Step1: Read, Review And Accept The Software License Agreement
Click ‘Next’ button
Step 2: Select The Required Products
Click ‘Next’ button

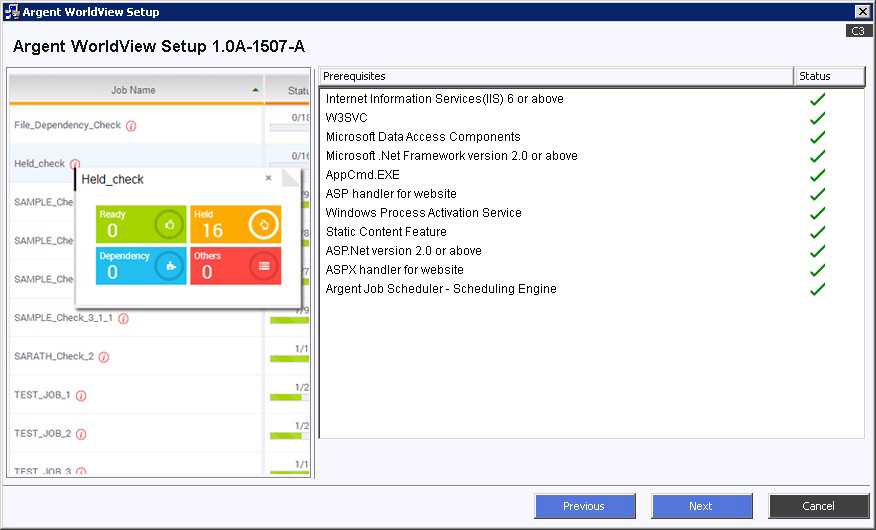
Step 3: Confirm All Prerequisites Are Present
Click ‘Next’ button
Step 4: Specify The Service Logon Password
Click ‘Next’ button
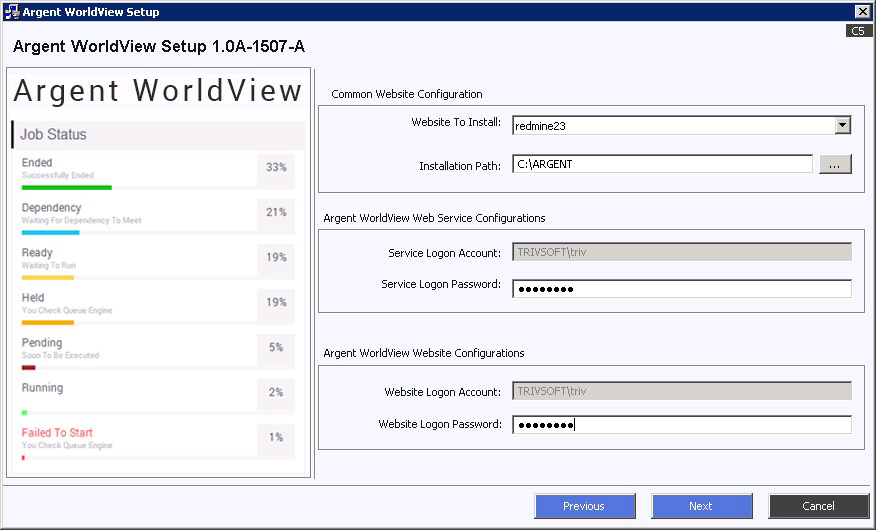
Installation Path:
This is the path where the product will be installed; default is ‘C:\Argent’
Website To Install:
This is the website where the product will be installed
Service Logon Account:
This is the user name with domain name to run the product; current user and domain is displayed by default
Service Logon Password:
This is the password of ‘Service Logon Account’ to run the product
Website Logon Account:
This is the user name with domain name; current user and domain is displayed by default
Website Logon Password:
This is the password of ‘Website Logon Account’
Step 5: Stopping IIS Services
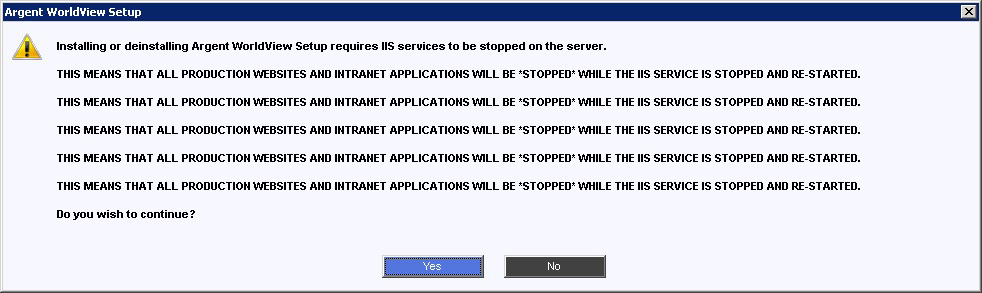
As the message warns, by stopping the IIS service all current web applications using IIS will be stopped until IIS is restarted
BE SURE NO CRITICAL PRODUCTION APPLICATIONS WILL BE STOPPED
If so, schedule an off-peak time to perform the installation
The installation process requires IIS to be stopped for about 60 seconds
Click ‘Yes’ to stop IIS Services and to proceed installation
Step 6: The Product Installation Progress Screen Will Be Displayed
Click ‘Next’ button

Step 7: Launching Argent WorldView Web Components

Step 8: Adding Scheduling Engine
A successful installation of Argent WorldView web service will show the URL and the User Name of Scheduling Engine
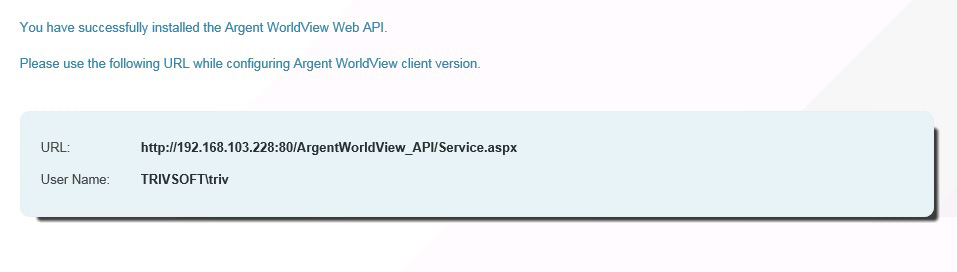
Specify the Scheduling Engine details in NEW1 Scheduler Specification (JW10) screen and click Save

Now, this Scheduling Engine is added in the web GUI
Upgrade
Step 1: Select The Component(s) To Be Upgraded
Click ‘Next’ button

Step 2: Specify The Service Logon Password

Service Logon Account
This is the user name with domain name to run the product; current user and domain is displayed by default.
Service Logon Password
This is the password of ‘Service Logon Password’ to run the product
Website Logon Account
This is the user name with domain name; current user and domain is displayed by default
Website Logon Password
This is the password of ‘website logon account’
Step 3: Stopping IIS Service

As the message warns, by stopping the IIS service all current web applications using IIS will be stopped until IIS is restarted
BE SURE NO CRITICAL PRODUCTION APPLICATIONS WILL BE STOPPED
If so, schedule an off-peak time to perform the upgrade
The upgrading process requires IIS to be stopped for about 60 seconds
Click Yes to stop IIS Services and to proceed upgrade
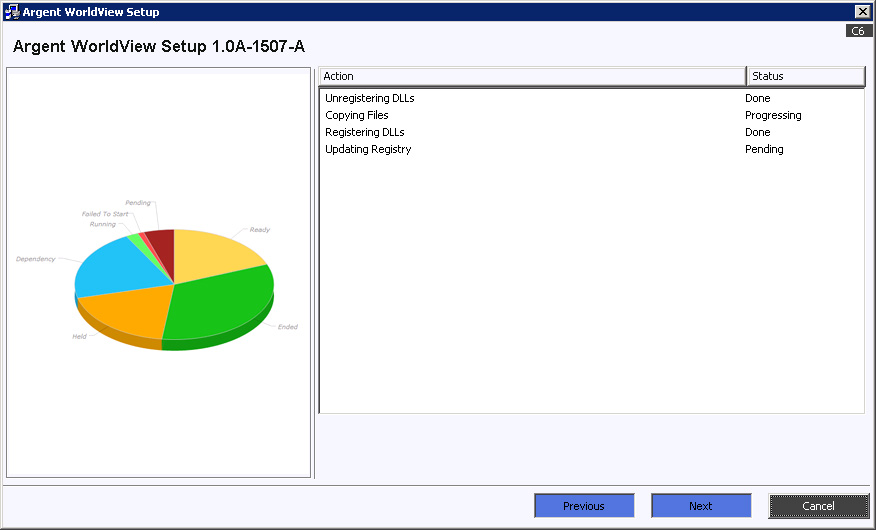
Step 4: The Following Screen Indicates The Status Of Upgrade
Step 5: Launching Argent WorldView Web Components

De-Install
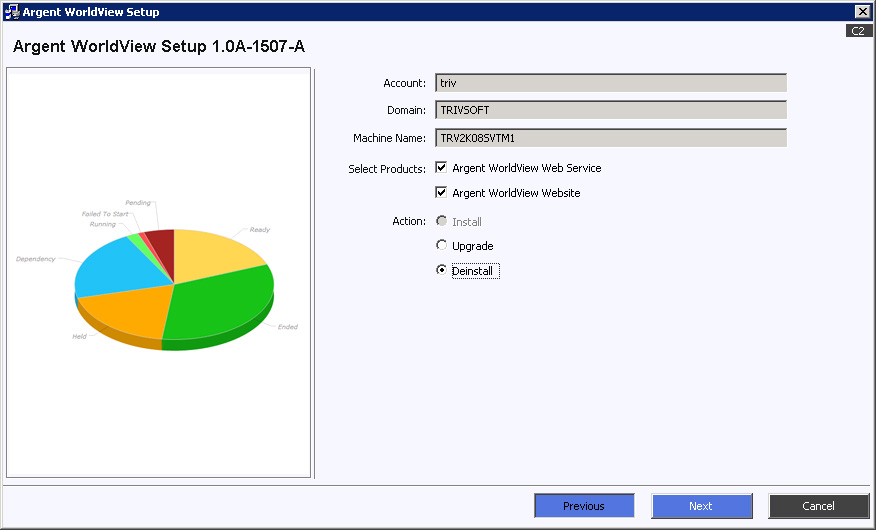
Step 1: Select The Component(s) To Be De-Installed
Click ‘Next’ button
Step 2: Confirm De-Installing Argent WorldView Components
Click ‘Yes’ button to proceed with de-install

Step 3: Stopping IIS Service
As the message warns, by stopping the IIS service all current web applications using IIS will be stopped until IIS is restarted
BE SURE NO CRITICAL PRODUCTION APPLICATIONS WILL BE STOPPED
If so, schedule an off-peak time to perform this function
The de-installation process requires IIS to be stopped for about 60 seconds
Click ‘Yes’ to stop IIS Services and to proceed deletion
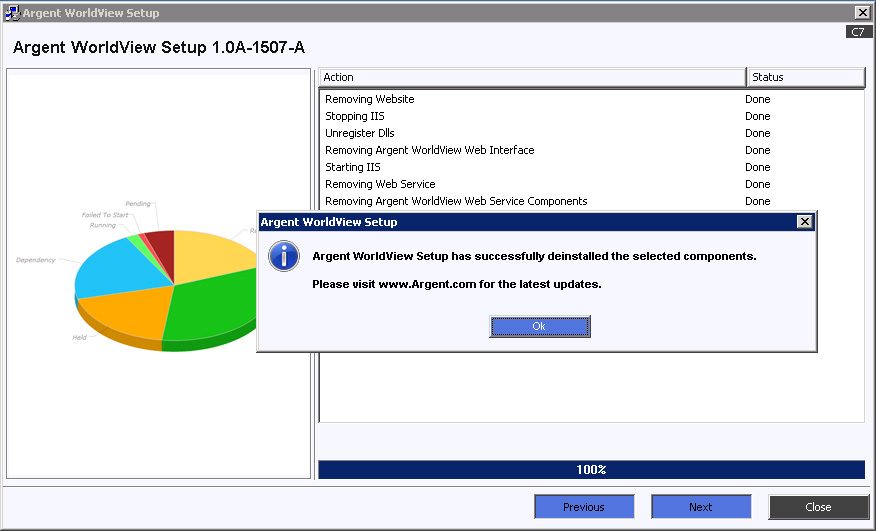
Step 4: The Following Screen Indicates The Status Of De-Installation

Step 5: Confirm De-Installation
Resolution
N/A