KBI 311167 How To Install Argent Job Scheduler Client
Version
Argent Job Scheduler all versions
Date
Friday, 20 Feb 2015
Summary
The article describes how to install Argent Job Scheduler client
Technical Background
Before installing Argent Job Scheduler client, please make sure the following prerequisites are met
- Registry permission
Registry read and connect permission to Argent Job Scheduler installed Virtual Machine
- Database Permission
Connect, Select, Execute, Insert, Update and Delete
- Should have network shared path access to Argent Job Scheduler machine
- Should have Remote Procedure Call(RPC) Access and remote access to Argent Job Scheduler machine service control manager
Run SETUP.EXE
Follow these easy steps to install the Argent Job Scheduler client program
Step 1:
Run SETUP.EXE from Windows Explorer or from the Start Menu
(Type: X:\_ARGENT_INSTALL\SETUP.EXE )
Step 2:
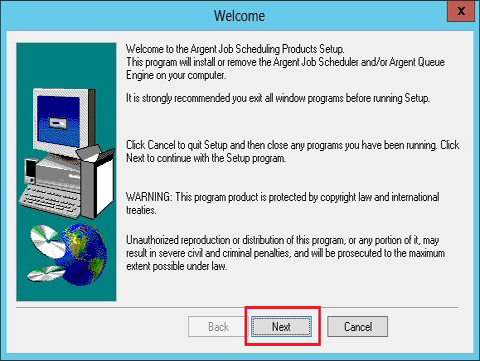
Click ‘Next’ button on the Welcome screen
Step 3:
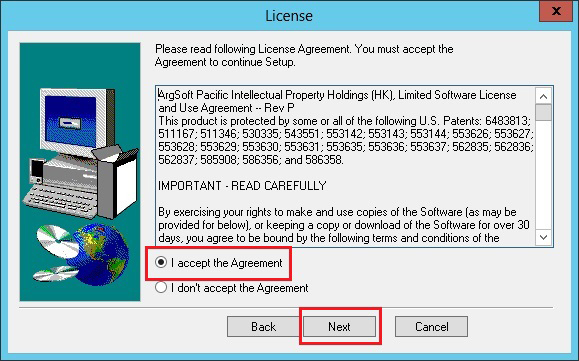
Accept the license agreement and click ‘Next’ button
Step 4:
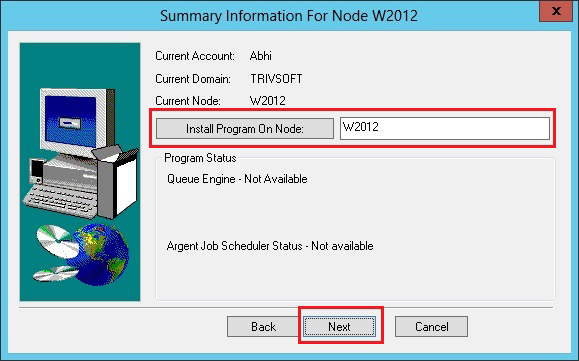
Default summary information for Current Account, Current Domain, Current Node and Node to be installed on is displayed
If customers want to install the Argent Job Scheduler on a Node other than the currently displayed local Node, enter the Node name and click the Install Program On Node button
Click ‘Next’ button
Step 5:
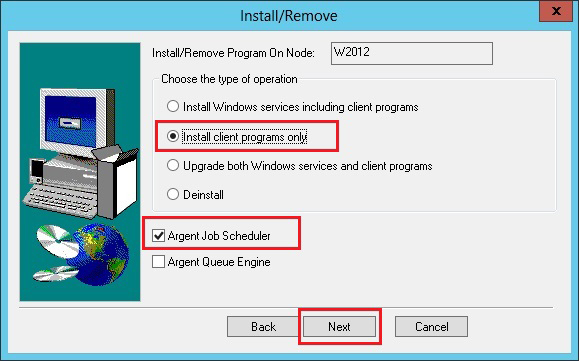
Select the radio option ‘Install client programs only’ and the check box ‘Argent Job Scheduler’
Click ‘Next’ button
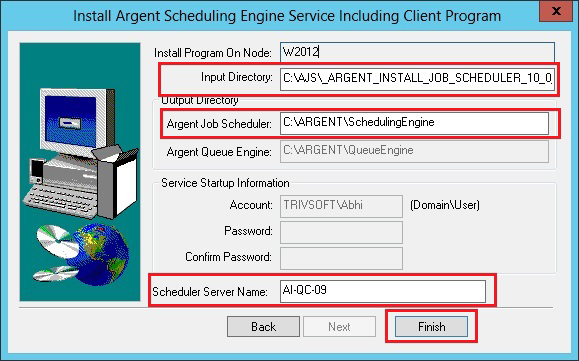
Step 6:
Input Directory: The directory where SETUP will locate the Argent Job Scheduler files to install
By default, this is the current directory from which SETUP is running
Output Directory: The directory to which the Argent Job Scheduler client will be installed
By default, this is a directory named “\ARGENT\SCHEDULINGENGINE\”
Scheduler Server Name: The name of the server where the Argent Job Scheduler service runs
Click ‘Finish’ button
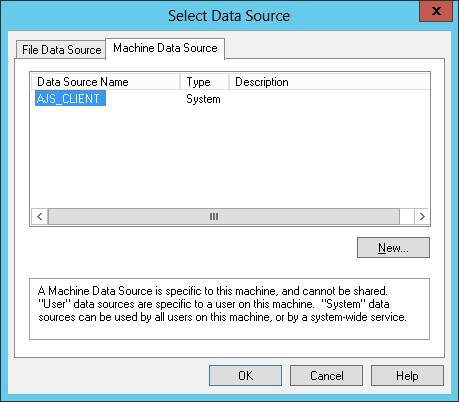
Step 7:
If Argent Job Scheduler service is installed in the main server with SQL backend, a window pops up to specify the Data Source
Create an ODBC to connect to the same database used by the Argent Job Scheduler service in the main server
Select the Data Source and click ‘OK’ button
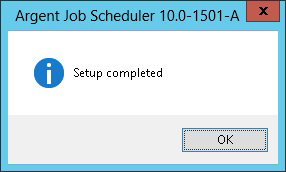
Argent Job Scheduler client installation starts and a message box is displayed on successful completion
If you need assistance, please contact Argent Instant Help by simply clicking the light yellow Instant Help Chat button below
Resolution
N/A