KBI 311664 MAPI Email Alerts Stop Working
Version
Argent Advanced Technology – All Versions
Date
Monday, 28 May 2018
Summary
Email Alerts from Argent unexpectedly stop firing
After troubleshooting, you realize it is ONLY the Messaging Application Program Interface (MAPI) email alerts which are no longer working
Further investigation leads to a prompt on the Argent server stating the company’s security certificate was not trusted

Technical Background
Argent gives customer’s three options with sending email alerts
- MAPI
- SMTP
- Lotus Notes
MAPI is a Microsoft Windows program interface that enables you to send e-mail from within an application
Argent takes advantage of MAPI to allow for email alerting within the Argent Console
MAPI has many advantages such as being able to read the GAL (Global Address List) of a user’s Exchange environment
This advantage allows users to create email templates within Argent with only knowing the user’s name and not the full email address
The GAL resolves the rest automatically
This is not without its problems though
MAPI profiles are usually quite stable but do occasionally suffer loss of security certification
This can be due to any number of reasons such as a new security certificate was released, a corrupted MAPI profile, an update to Outlook, or an update to Exchange itself
Resolution
Resolving the issue CAN be as simple as clicking ‘Yes’ on the Security Alert prompt
If there is no Security Alert prompt and MAPI email is still failing, follow the steps below to recreate the MAPI profile on the Argent server
This will force a reissue of security certificate
- Log into Argent server as the Argent Service account
- Close Outlook on Argent server if it is open
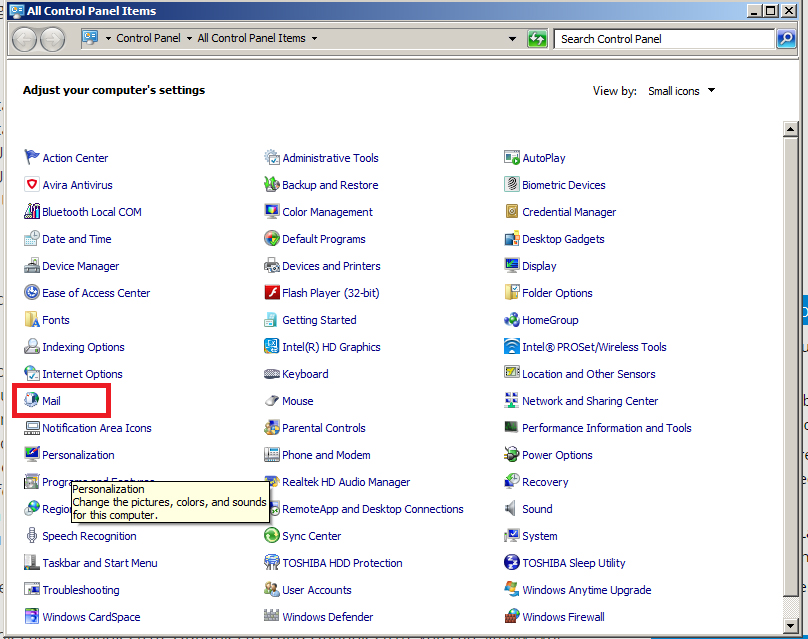
- Go to Control Panel
- Open MAIL
- Choose ‘Show Profiles’
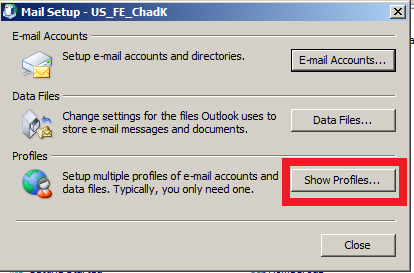
- Write down the name of the Argent MAPI Profile (You will need to know it for later steps)
- Remove the Argent MAPI Profile
- Press the ‘Add’ button
- Name the new Mail Profile the same as the old profile name
- Press ‘OK’
- In Outlook 2007, Outlook 2010, Outlook 2013 and Outlook 2016, you can simply type your desired display name, email address and password and Outlook will try to determine and configure your account automatically
If this fails you can still choose to configure it manually with the information provided by your Exchange Administrator
- Uncheck ‘Use Cached Exchange Mode’
- Follow on-screen instructions to (further) configure your account
Again; ask your Exchange administrator if you do not know these details
- Once created, you should receive a prompt to trust the Microsoft Security Certification
Choose ‘Yes’